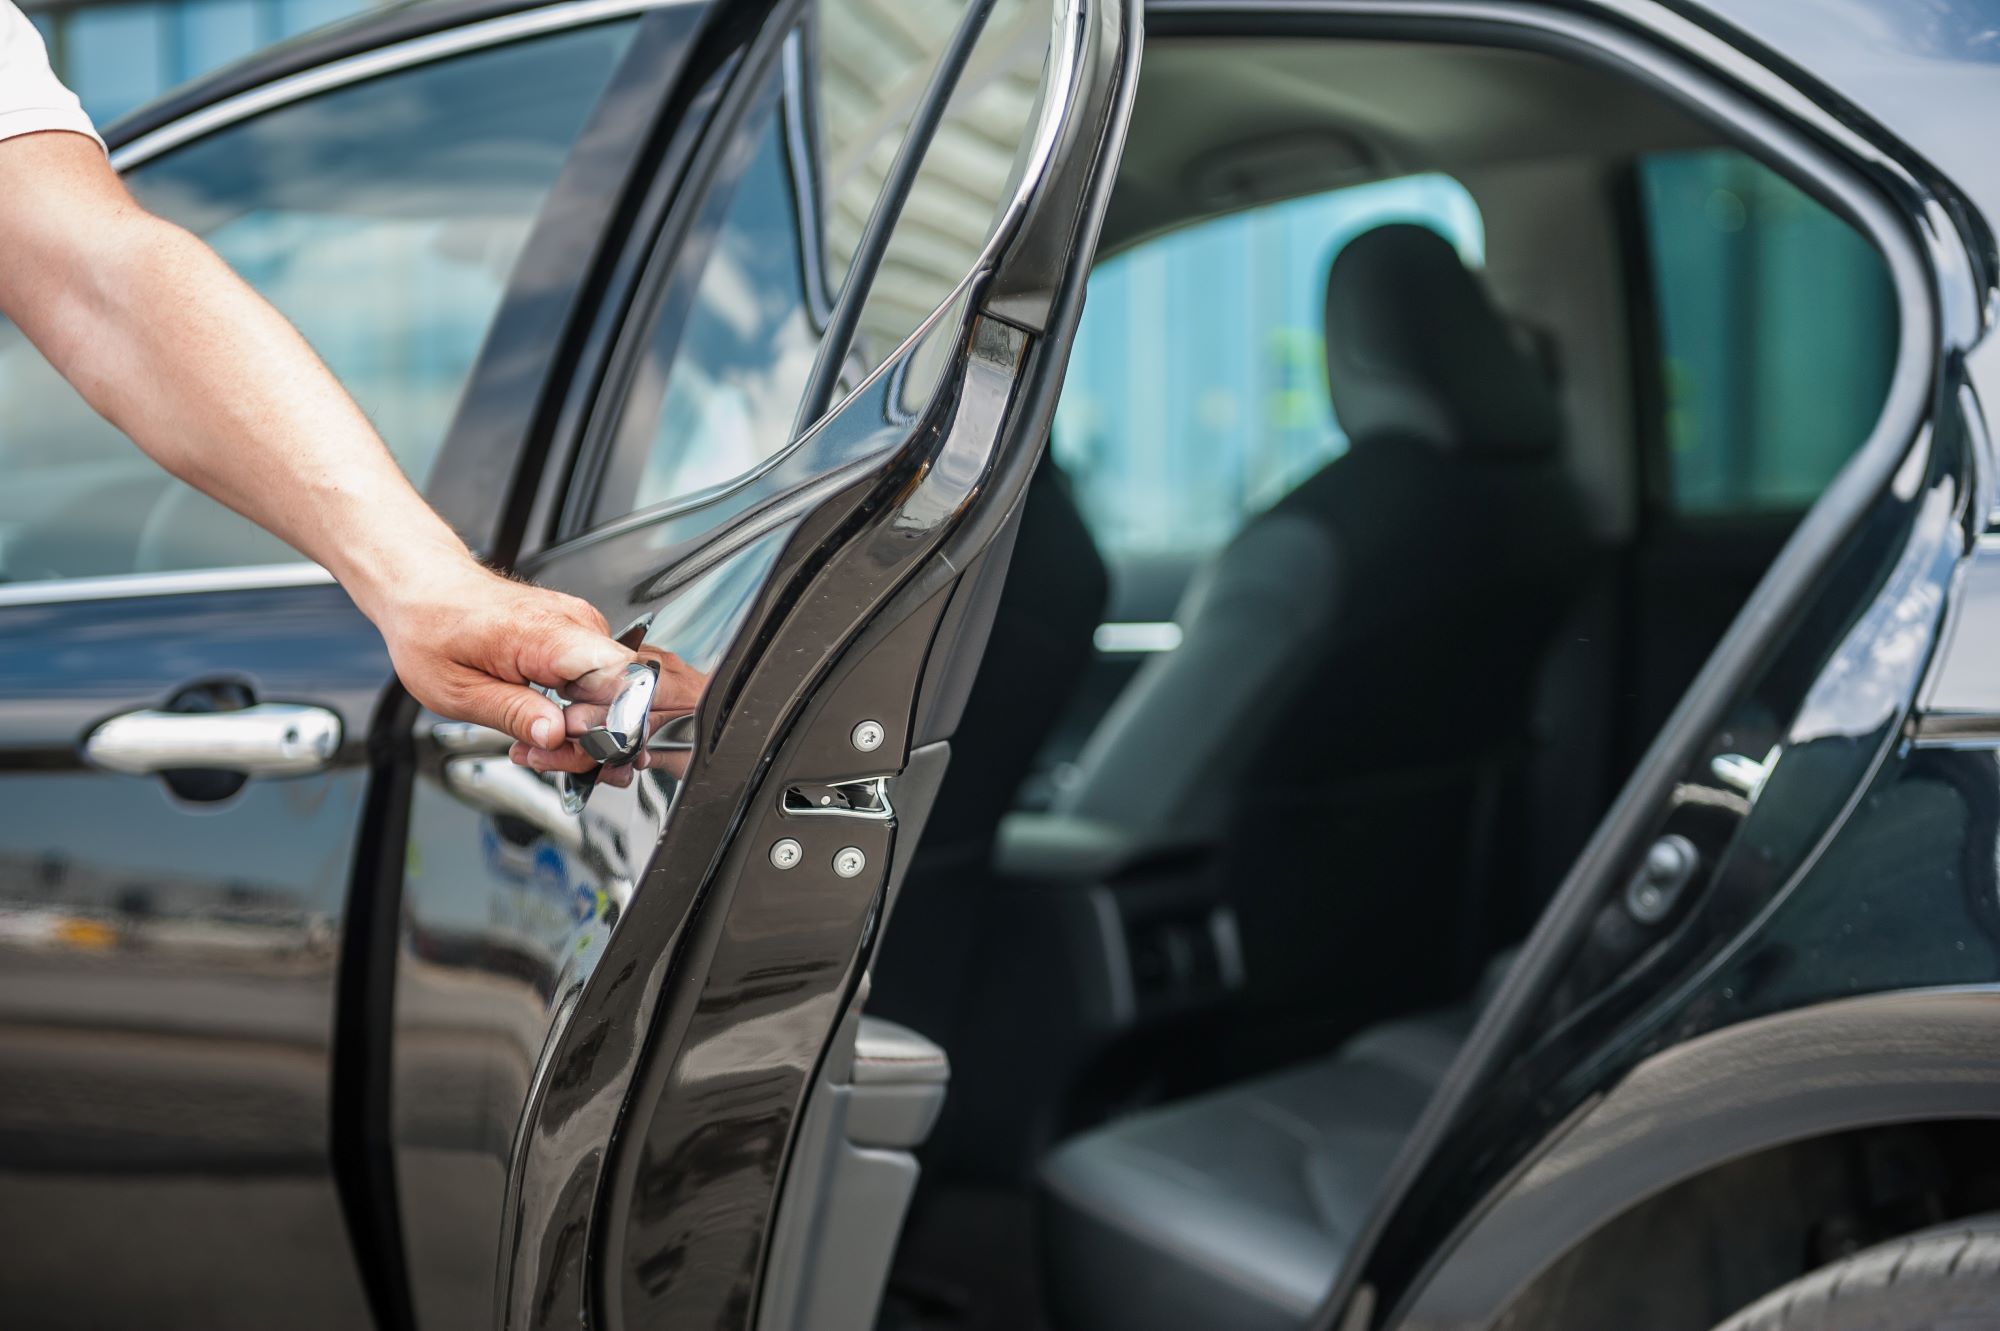
Car door rubber does more than you might think. It's the underappreciated element in keeping your ride quiet and dry. But, like other car components, it needs regular care to function at its best. Neglect it, and you'll soon find yourself dealing with drafts, leaks, or unwelcome noise. This article will teach you the essentials of car door rubber upkeep and guide you through the replacement process when it becomes necessary.
Understanding Car Door Rubber
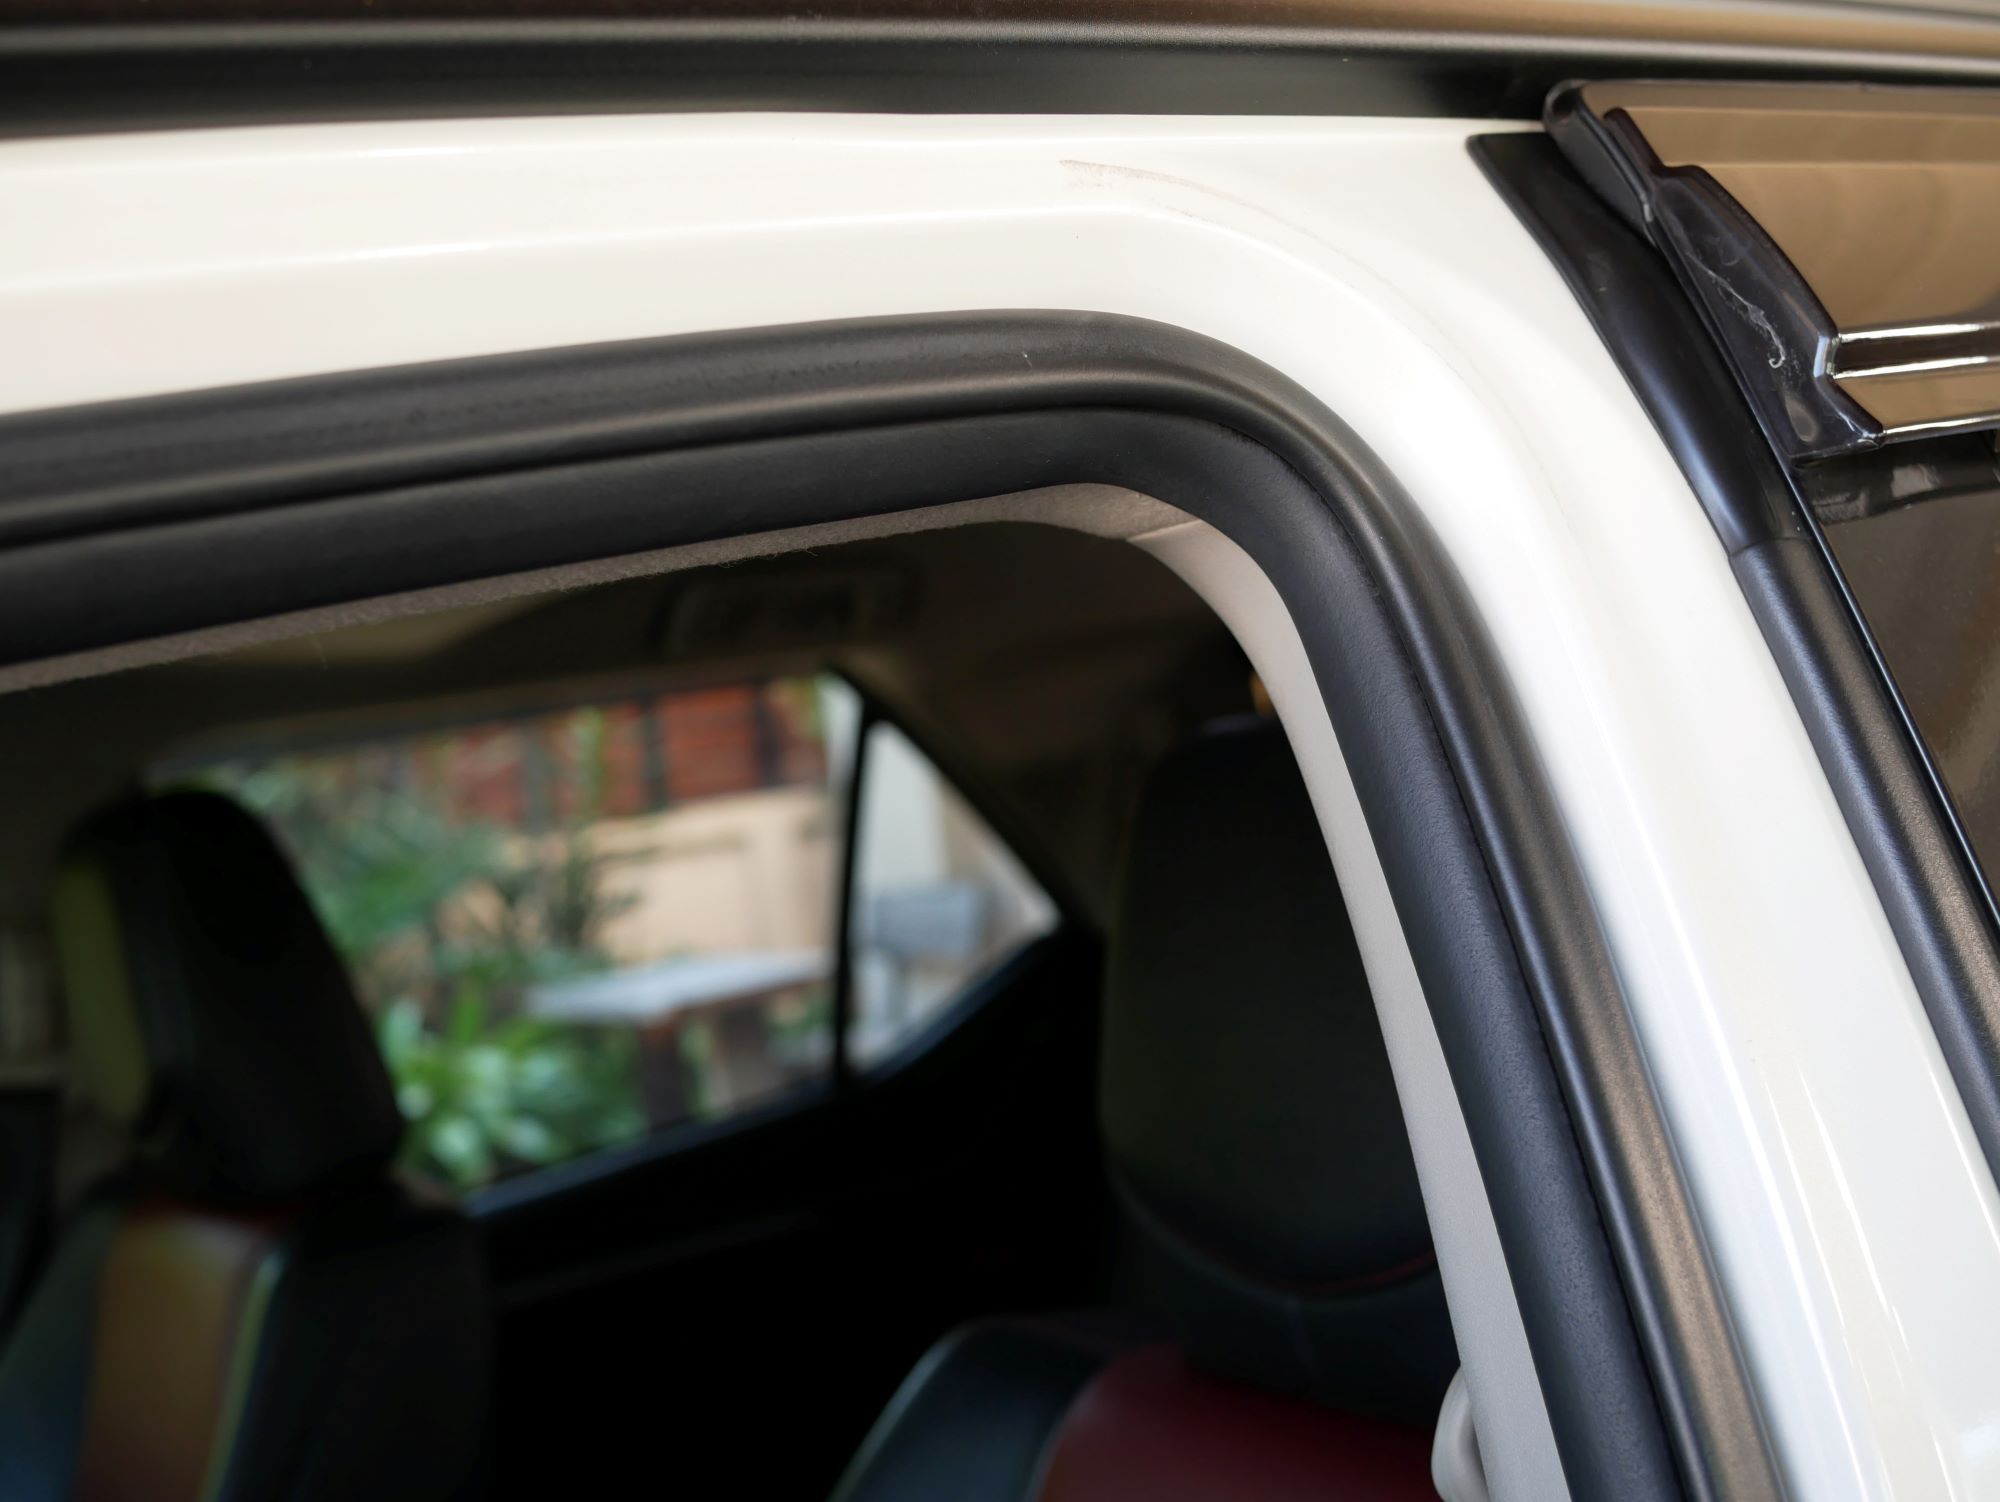
A car door rubber is indispensable in keeping your car both comfortable and functional. It acts as a flexible barrier around your vehicle's door to shield and insulate the interior space.
Generally, car door rubber comes in two forms: weatherstripping and trim. Weatherstripping is designed to create a seal against external elements, while trim is designed to protect the weatherstripping and add a decorative touch.
Like any other part, your car door rubber seal requires maintenance and eventual replacement. For an extensive range of options and tools to repair or replace this essential car piece, you can visit https://rubberonline.com.au/ or check out other rubber suppliers online.
Signs Of Wear And Tear
Is your car noisier than usual? Or maybe you've noticed moisture inside after a downpour. These are clear indicators that your door rubber might be compromised. A visual inspection can reveal more. Keep an eye out for the following issues:
- Cracks
- Changes in shape
- Hardening
- Disintegration
- Reduced soundproofing features
- Whistling sounds from the wind outside
Act promptly if you observe any of these symptoms. Catching them early can avert more significant, expensive issues down the road.
If you live in a region with frequent extreme cold, regular inspection of your car door rubber becomes even more important. Frost can ruin rubber quickly, especially when left alone for long periods. Be cautious when opening your frozen car door, and immediately replace the rubber when you notice any damage.
Maintenance Tips
Next, it's time to talk about cleaning. A mild soap and water solution is usually sufficient for cleaning car door rubber. However, if the rubber is heavily soiled, you may need to use a stronger cleaner, such as a rubber cleaner or degreaser.
Steer clear of harsh, petroleum-based solvents, as these can cause the rubber to break down more quickly. After cleaning, make sure to dry the rubber completely to prevent mold or mildew. Leaving it damp can accelerate damage to the rubber.
Prevention And Protection
Once your door rubber is clean, you'll want to keep it that way. Silicone-based sprays or rubber conditioners can provide an additional layer of protection. It's a good habit to apply these products after each cleaning.
Parking choices also matter. A shaded area like a garage or a wooden carport can help extend the life of your door rubber by shielding it from the sun. However, applying a UV protectant is still advisable for added protection against harmful UV rays. Finally, avoid forcefully shutting your doors. Doing so exerts undue pressure on the rubber seal, hastening its deterioration.
Replacement Guidelines
Despite your best efforts, there will come a time when your door rubber needs replacing. If you find that the rubber has lost its elasticity or you're experiencing frequent leaks even after proper cleaning and conditioning, it's time for a new seal. Here's a step-by-step guide for your reference:
- Measure and Cut: First, gauge the dimensions of the old rubber so you can buy a matching replacement.
- Remove Old Rubber: Carefully detach the worn rubber from its groove using a flathead screwdriver.
- Clean the Area: Take a moment to clean the area with a damp cloth, removing any residual adhesive or grime.
- Apply Adhesive: Lay a strip of quality adhesive designed for rubber components along the cleaned groove.
- Install New Rubber: Align the new rubber and press firmly, starting at one end and progressing around the door.
- Let it Set: Allow at least 24 hours for the adhesive to fully secure the new rubber in place.
When choosing a replacement, opt for high-quality material. The better the rubber, the longer it will last and the more effectively it will seal.
Professional Assistance
Some folks are DIY experts; others prefer professional assistance. If you're in the latter camp, there's no shame in getting your door rubber replaced at a certified car service center. Ask around for recommendations or search for one online. Make sure to check the reviews from previous clients to get an idea of how the car service team works.
For those who prefer the DIY route, equipping yourself with the correct instruments and safety attire is a must. Regardless of your chosen approach, this task demands meticulousness and appropriate tools. Research well to know the exact methods to correctly replace your car door rubber.
Final Thoughts
Maintaining and replacing your car door rubber are vital for both your driving comfort and functional experience. Neglecting it leads to various issues that not only affect comfort but, more importantly, safety. So don't wait any longer. Put these tips into practice to sustain your car's optimal performance.