The chainsaw's direction of travel might need to be revised for beginners. Not everyone is able to operate a chainsaw, and not everyone has the innate desire to hold the chain in the proper position. We sometimes wind up with our chain installed backward because of this.
Placing the chainsaw chain backward significantly impacts the chainsaw's capacity to cut since the chain has a precise direction in which it is designed to move. Because the chain's cutter blades only operate in one order, cutting will be difficult if your chain is facing the wrong way.
Chainsaw Chain Direction Correct
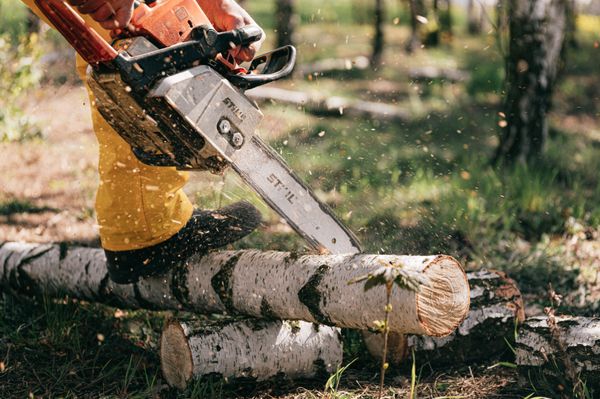
It moves in a clockwise direction. If you approach the saw from the side, you can see this more clearly. When you hold the saw and turn it clockwise, the chain moves away from you when it reaches the top of the bar and then moves back toward you when it crosses the bottom.
Having the chain travel away from you is a crucial safety element since chainsaws can be pretty dangerous—up to 36,000 people get injuries from them yearly. Most of us learned the fundamentals of knife safety in Boy Scouts and knew the need to cut away from our bodies.
Cutting away from your body is especially crucial since a chainsaw is just a lot of blades connected and powered by an engine. As a result, the chain travels away from you over the top of the bar.
What direction does the chain of a chainsaw go?
When your chain is properly oriented, the cutters on the bar's top will be pointing forward, toward the bar's end. Take notice of the two objects indicated as number one in the image. There are two cutters marked—one facing right and the other left—because they alternate along the blade.
In the correct arrangement, the cutters above the bar point forward, toward the bar's tip. As you can see, the edges are angled upward from rear to front. Since it cuts, you can also see that the cutter's one end is sharp.
The second item is the guide, located in front of each cutter. It resembles a shark's dorsal fin in specific ways. If you put it that way, you hope the shark will go over the counter and out of harm's way. This implies that the curved side faces forward on an adequately attached chain, and the guide's tip points back at you.
The guide manages the cut's size but does not do the independent cutting. It enables control over each cutter's bite-size on the wood it is cutting.
The driving links are lastly located on the chain's underside. These go into the bar's groove and hold your chain in place, so it won't fly off the bar and threaten you and anybody around. Additionally, they include numerals that indicate gauge and pitch. When seated atop the bar, the place where they curl into a curve faces forward.
Replace A Chainsaw Chain: Instructions
If your chain has been harmed or has become so old that you can't efficiently sharpen it anymore, you should replace it. Although it's not a complicated procedure, it's better to know what you're doing than to wing it and hope for the best since doing it wrong might endanger your safety.
1. Take the Chainsaw Case Out.
A chainsaw tool called a scrench is often included with chainsaws. The name of this T-shaped instrument is a portmanteau made up of a flathead screwdriver on one end and two wrenches on the other.
Two different sized wrenches are needed to remove the saw's spark plug and the two bolts holding the case on.
To take the casing off:
- Take away both nuts.
- The white plastic polygon in the picture represents the case; remove it and lay it aside.
- Place the nuts within the bowl formed when you lay it down face down.
- Your saw will become worthless if you lose them.
2. Take the Chain and Bar off.
More than only the case was secured in place by the nuts you just removed. Additionally, after removing the cast, they confirmed the bar against the saw's body, causing it to sag and lose alignment. You may need to release a tension adjustment screw, which we'll cover further in a moment, to remove the bar.
In most cases (as long as the saw is on its side and the bar is facing flat-side-up), you should be able to lift straight. The chain will encircle the driving sprocket, which will cause the chain to move. This step may or may need to be more straightforward, depending on how tight your chain is. You'll pull the bar and chain together off the chainsaw body, but it could need some twisting.
Determine the chain's cutting direction.
Remembering what we've previously discussed, ensure the drive links' pointed ends, which you'll insert into the bar's groove, and the cutters when above the bar, face in the same direction.
Once again, the chain won't cut if you put it on backward. The engine will move the chain, causing some metal-on-wood action to erode the wood, but there won't be much cutting—only a lot of smoke. Make sure you do this correctly.
3. Build the Chain and Bar.
Although very simple, assembly calls for a specific sequence of steps.
To remove the tension adjustment screw, use the scrench's screwdriver end. You'll see it going forward when you're twisting the assembly in the appropriate direction. If you neglect this stage, you may encounter difficulty reinstalling the bar.
- The bar's butt end should be raised with its point in the air.
- Ensure that the drive links are seated in the groove and facing the correct direction when you drape the chain over the end of the bar.
- Insert the links into the crevice that runs along the bar's top and bottom. If you draw down on the chain and apply pressure to prevent the drive links from falling out again, it may be easier to maintain its position.
- Although this step and the one following it are two halves of the same process, don't attempt to stretch the chain over the drive sprocket after installing the bar.
- Place the bar in position and insert the two bolts into their corresponding holes.
- While keeping a firm hold on the bar and the two bolts, fit the casing over them.
- Replace the nuts, but hand-tighten them. Wait to use the scrench to lower them.
4. Stress Chain
Now that everything is back together, you must adjust the chain's tension. This is where the tension adjustment screw, as its name suggests, comes into play. It is often found between the two nuts that you hand-tightened.
Turn the screw carefully while holding the bar in place so that it is parallel to the body. As the chain tightens, the bar will advance and move away from the saw's body. It's time to use the scrench to properly seat the nuts in place after you've applied enough strain to keep the drive links seated but not so much that it stresses the engine. Cut some trees now.
Can You Attach a Chainsaw Chain Backwards?
It is possible to attach a chainsaw chain backward. Chains may be mounted in either a forward or a backward manner, as we've seen, and if you need to pay attention, you can inadvertently climb the chain the wrong way.
How can I tell whether the chain on my chainsaw is in reverse?
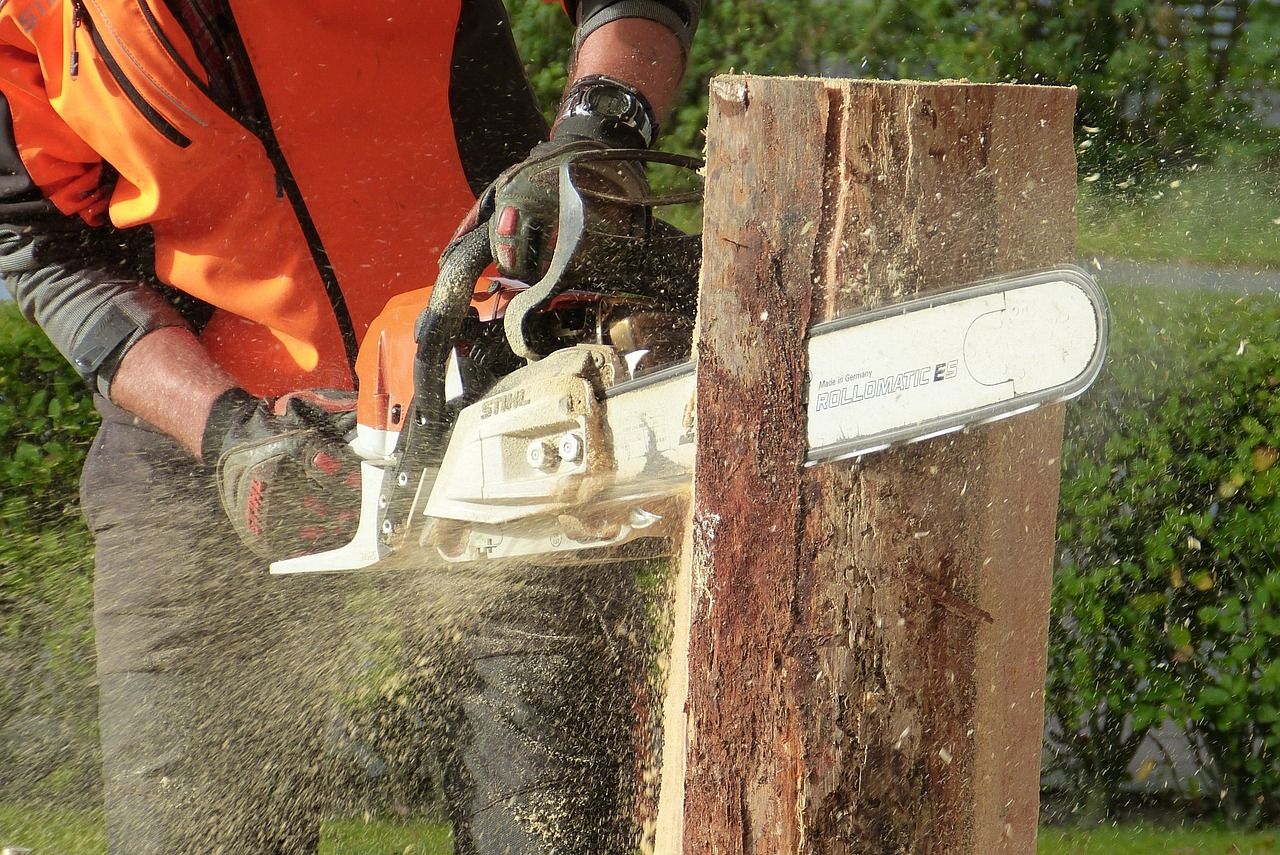
The cutters are visible when the saw is not in use. The edges should slope upward from back to front at the top of the bar. The chain is attached backward if the blades tilt downward toward the front of the saw.
The chain is reversed if you see more smoke coming from the saw than wood chips while it is operating. Since the cutters are directional, you can only provide metal-on-wood friction if they move in the opposite direction, which is ineffective.
On a chainsaw, how tight should the chain be?
Adjust the chain's tension so that pulling on it won't remove the drive links from the bar altogether. Working with a chain that is too loose might cause it to slip off the bar. That's annoying, at best. It may be dangerous.
However, please don't make it so tight that the engine has to exert more effort to move the chain. The chain should have some give, but not enough to cause the links to fall loose.
Why does the chain on my chainsaw constantly fall off?
Lack of tension is the principal offender. Your chain will come off the bar if it is too slack. The chain itself may also be the source of the issue. They labor a lot and are mistreated a lot. They eventually get stretched. It will eventually become unable to apply adequate tension by tightening the tension adjustment screw, at which point a new chain must be installed.
Finally, you can only maintain chain tension for a short time if the drive sprocket wears down. If your saw develops this problem, you don't need to purchase a brand-new chainsaw since drive sockets are replaceable. However, doing that may be enjoyable, so the choice is yours.
Conclusion
Go On a Chainsaw Blade Run
Understanding the correct chainsaw chain direction is a fundamental aspect for those desiring to use their chainsaw effectively. The chainsaw blade direction is vital, as it ensures the cutting edges are positioned to cut into the wood as the chain travels around the chainsaw bar. Notably, a backward chain significantly hampers the performance of your chainsaw and can result in damage. Hence, if the chainsaw blade is not going in the right direction, it becomes imperative to correct it for both safety and efficiency reasons.
Identifying the right chainsaw chain direction can be discerned by looking closely at the chainsaw blade. The cutting edges or the sharp teeth should face in the direction that the chain is going to move. Remember, on a correctly installed chain, these cutting edges should lead the way around the chainsaw bar. If the chain is going in the wrong direction, the cutting edges will lag, making it hard for the chainsaw to cut efficiently.
Ultimately, whether you are an experienced chainsaw user or a beginner, understanding the right chain direction is essential to keep your chainsaw running smoothly and safely. Ensuring that your chainsaw blade runs in the correct direction increases efficiency, extends the life of your chainsaw, and helps in accurate replacement chain installation. Misunderstanding the chainsaw direction could lead to unnecessary wear and potential damage to your tool. It's vital to always inspect your chainsaw's blade direction and correct any instances of a backward chain.