Adding an electrical outlet to a room can be a practical solution to improve the functionality and convenience of your living space. Whether you need extra power points for your home office, entertainment center, or any other area, understanding the process of installing an outlet is crucial. This guide offers a step-by-step approach to help you add an electrical outlet safely and effectively.
Understanding the Basics
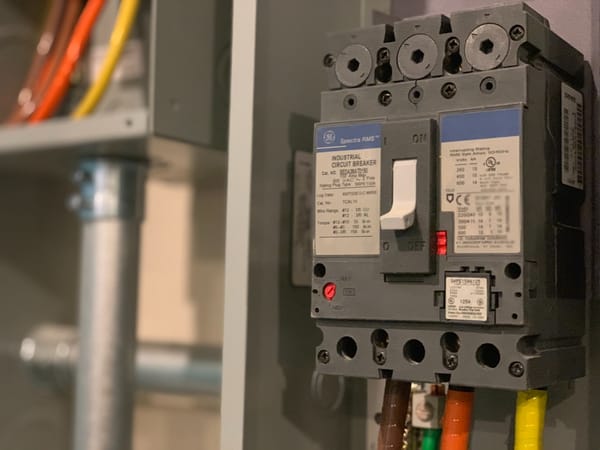
Before diving into the installation process, it's essential to understand the basics of your home's electrical system. An electrical outlet, also known as a receptacle, provides a point where electrical appliances and devices can be plugged in. It's connected to your home's electrical wiring system, which in turn is linked to the main power supply.
Safety First
Dealing with electricity requires caution. Always prioritize safety by turning off the power to the area where you will be working. Use a voltage tester to ensure the power is off before starting the installation. If you're not comfortable working with electricity, consider hiring a professional electrician.
Tools and Materials
To add an electrical outlet, you'll need several tools and materials, including:
- A new electrical outlet (receptacle)
- An outlet box
- Wire strippers
- Screwdrivers
- Electrical wire (ensure it matches the gauge and type used in your existing wiring)
- A voltage tester
- Protective gear (gloves, safety glasses)
A Step-by-Step Guide
Step 1: Planning the Outlet Location
Choose the location for your new outlet carefully. Consider convenience, accessibility, and safety. Avoid placing outlets near water sources or in areas where they might be overloaded.
Step 2: Preparing the Outlet Box
Install the outlet box in the desired location. If you're adding the outlet to an existing wall, you might need to cut a hole in the drywall to fit the box. Make sure the box is securely fastened and level.
Step 3: Running the Wire
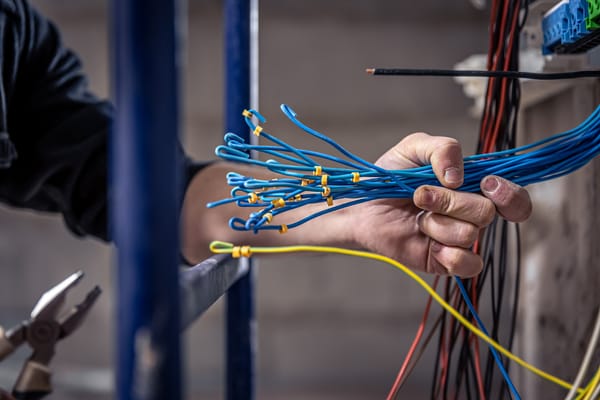
Run the electrical wire from the nearest existing outlet or from your home's electrical panel to the new outlet box. This might involve threading wire through walls or ceilings, which can be challenging in finished spaces.
Step 4: Connecting the Wires
Strip the ends of the wires and connect them to the new outlet. Typically, black (hot) wires attach to brass screws, white (neutral) wires to silver screws, and green or bare (ground) wires to green screws on the outlet.
Step 5: Securing the Outlet and Testing
Once the wires are connected, carefully place the outlet into the box and secure it with screws. Turn the power back on and use a voltage tester to ensure the outlet is working correctly.
Maintaining Your New Outlet
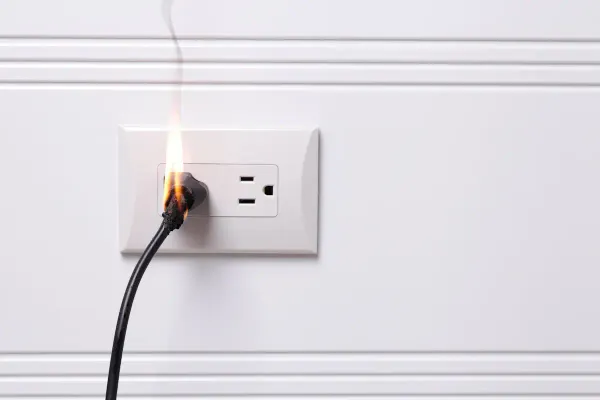
Once your outlet is installed, maintenance is straightforward but important. Regularly check the outlet for any signs of wear, overheating, or damage. If you notice anything unusual, it's best to consult an electrician. Proper maintenance ensures safety and longevity of your electrical system.
Understanding Electrical Codes
It's crucial to be aware of the electrical codes in your area. These codes are in place to ensure safety and proper installation practices. They can vary by location, so consulting with a local electrician or your municipal building department is advisable to ensure your installation complies with all relevant regulations.
Energy Efficiency Considerations
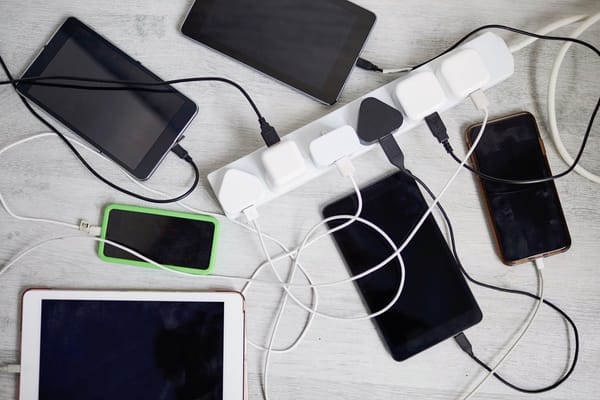
When adding an outlet, consider energy efficiency. Modern outlets come with features like integrated USB ports, which can be more energy-efficient for charging devices compared to traditional adapters. Choosing energy-efficient fixtures can contribute to lower electricity bills and a smaller carbon footprint.
Customizing Your Outlet
Today's market offers a variety of outlet styles and functionalities. From smart outlets that you can control via a smartphone to outlets with built-in night lights, the options are vast. Customizing your outlet to suit your specific needs can add convenience and modernize your space.
Troubleshooting Common Issues
After installation, you might encounter common issues like a tripped circuit breaker or a non-functional outlet. These can often be resolved by checking connections and ensuring your home's electrical system can support the additional load. If problems persist, it's important to consult with a professional.
DIY vs. Professional Installation
While DIY installation can be cost-effective, it's not for everyone. Understanding the complexities of your home's electrical system is vital. If you're not confident in your ability to safely add an outlet, hiring a professional is the best choice. They can ensure that the installation is safe, efficient, and compliant with all codes and regulations.
Conclusion
The addition of a new outlet involves intricate steps like connecting the bare copper wire to the green grounding screw in the new electrical box, and ensuring wire connectors are securely fastened. This process links your new outlet to the existing circuit in a manner that's both safe and efficient. Whether you're installing the electrical box for a wall outlet or adding a new outlet location, the attention to detail is paramount. The use of tools like a wire coat hanger to guide the new cable through drill holes, or carefully attaching the ground wire, highlights the precision required in such electrical tasks.
Remember, when handling existing wires or maneuvering the electrical cable into the new box, safety and adherence to electrical standards are your top priorities. Furthermore, integrating the new outlet with an existing electrical outlet ensures consistency in your home's electrical system. This integration involves thoughtful planning, from the placement of the new outlet location to the routing of the new electrical cable.
It's crucial to measure accurately and use the right tools, such as a drill, to create space for the new box. This meticulous process ensures that the new cable aligns perfectly with the existing wires, creating a seamless and efficient electrical flow. Ultimately, the successful installation of a new outlet not only enhances the functionality of your living space but also upholds the safety and integrity of your home’s electrical infrastructure.