Are your floors dull, scratched or even sagging? Hardwood floors can become worn over time due to foot traffic, spills, pet accidents or just normal wear and tear.
Maybe you just want to get rid of that old yellow wood color and update your hardwoods to a darker tone?
Either way, whether you're a "do-it-yourselfer" or you're hiring a pro, refinishing hardwoods is a bit of process, but restoring the shine and luster to your floors is definitely worth the cost in the end!
Here's a step-by-step guide for sanding and refinishing hardwood floors, along with some tips and tricks, and things to avoid.
Step-by-Step Guide for Sanding and Refinishing Hardwood Floors
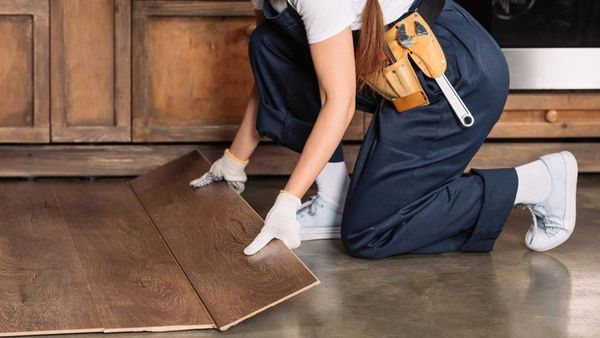
- Prepare the room: Move all furniture and rugs out of the room. Cover doorways and vents with plastic to contain dust. You'll also want to remove baseboards or shoe molding.
- Inspection: Inspect the floor for any damage such as loose or missing nails, or any rot. Make any necessary repairs before proceeding.
- Clean & Scrape Debris: Scrape any existing wood damage with a putty knife and remove old paint from the wood surface.
- Sanding: Start with a coarse grit sandpaper to remove the old finish and smooth out any imperfections. Work in the direction of the wood grain, switching to a finer grit sandpaper as needed. Vacuum and wipe the floor clean.
Go to Home Depot or Lowes and rent a commercial drum sander for about $65 to $120 a day.
You'll also have to purchase sanding paper in varying grits. For example, you will need to start with a low grit paper (e.g. 60) and then finish with a fine grit paper (e.g. 180).
5. Staining: If desired, apply a wood stain to the floor. Make sure to apply an even coat and wipe off any excess. Allow the stain to dry completely.
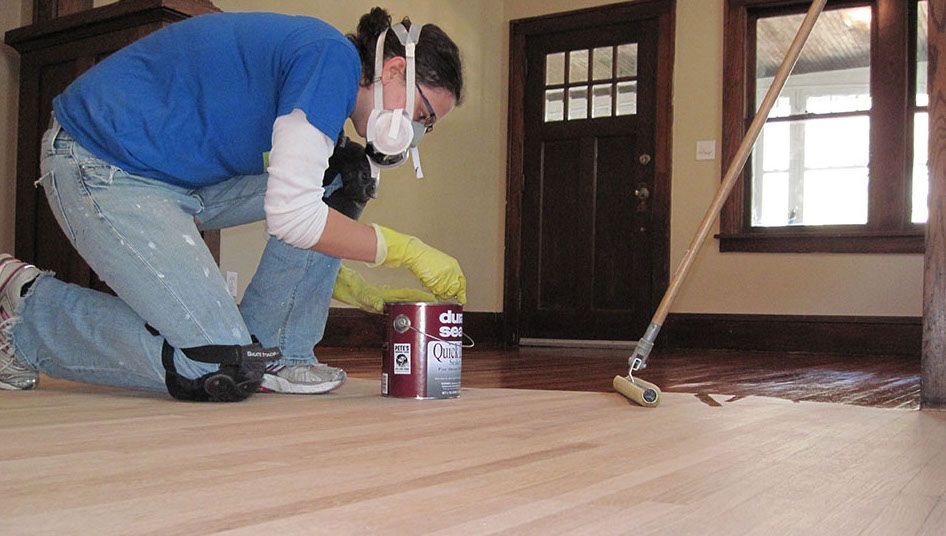
6. Applying initial coat of finish: Apply a coat of polyurethane finish to the floor. Use a brush or roller to ensure an even coat. Allow the finish to dry completely.
7. Buffing: Lightly sand the floor with a fine grit sandpaper to smooth out any imperfections in the finish. Vacuum and wipe the floor clean.
8. Final topcoat of finish: Apply a final coat of polyurethane finish to the floor. Allow the finish to dry completely.
9. Clean up: Remove the plastic covering from doorways and vents. Move furniture and rugs back into the room.
Things to Avoid
- Avoid using a belt sander unless you're a pro, as it can cause deep scratches in the wood.
- Don't skip any grits of sandpaper. Each grit is necessary for a smooth finish.
- Don't use too much stain or finish. This can cause drips and an uneven finish.
- Avoid over-sanding the floors, as this can remove too much wood and damage the floor.
- Don't rush the drying process. Allow each coat of finish to dry completely before applying the next.
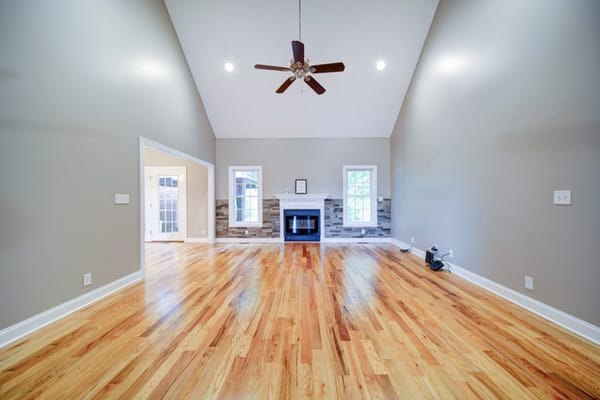
Overall, refinishing hardwood floors can be a time-consuming and labor-intensive process, but it's worth the impact to your home's value. With a little patience and attention to detail, you can have beautiful, restored hardwood floors that will last for years to come.