There are very few things that are as irritating as leaking gutters – especially if these cracks appear right above the front doors. Such things put damaged gutters and downpipes firmly in the realm of sheer annoyance so we tend to just as easily disregard them as such.
Still, this nuisance is only the tip of the iceberg composed of hidden dangers like structural damage, expensive repairs, mold, mildew, and damaged respiratory health. So yeah, leaking downspouts and gutters are not simply ‘annoying’ – if left unchecked they can be downright dangerous.
Let us take a look at a couple of ways you can cut this problem down to its root and make sure your home is safe, healthy, and dry.
Understand the causes of gutter damage
Otherwise, everything you are doing will only be a temporary patchwork. If you want to make sure future gutter/downpipe leaks are off the table, you need to trace the problem back to its root. Here are some of the most common culprits:
- Wear and tear – Usually unavoidable past the 20-year benchmark
- Poor fitting – Loose gutters and downpipes usually wear out faster
- Sediment in the joint – While you are fixing gutters, be sure to give them a proper cleaning as well
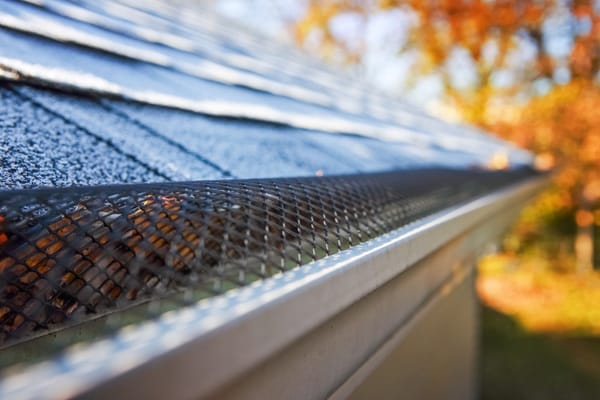
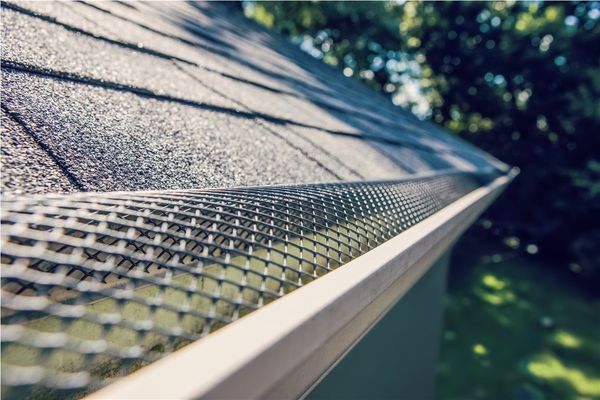
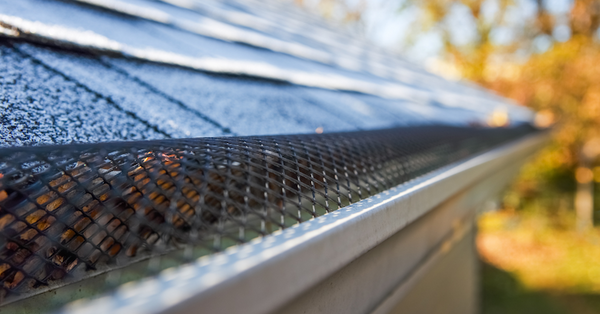
- Clogged gutters – A problem that can be easily addressed with gutter guards
We would also like to point out that, depending on the material, gutters will contract or expand at different temperatures. While this is something unavoidable, you can plan out future upgrades with materials that are not as susceptible to such contortions in mind. In the case of systems that are older than 20 years, it’s better to simply replace them.
Learn how to identify different leak problems
This is yet another preemptive measure that will help you deal with future downpipe leaks much faster. You see, the rain pouring on your head might be the easiest way to spot something’s wrong with your gutters, but they are hardly the most common one. In most cases, you will simply spot the giant wet spot on the slabs and go on a wild goose chase looking for the issue. But, it might just be the case that you are dealing with some sort of leak below the concrete foundation. Learning more about your house’s pipe network as well as plumbing knots can drastically streamline this search.
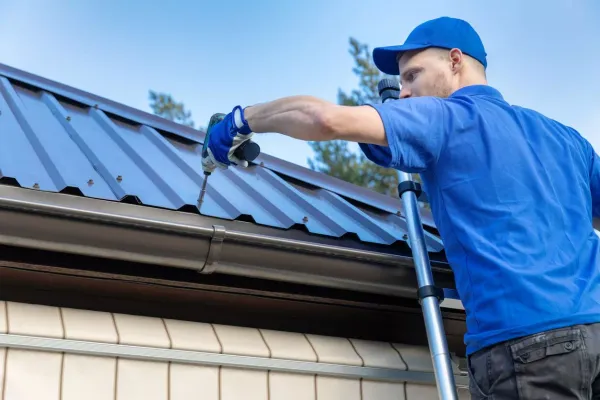
Replacing the gutter and downpipe joints
Now that we’ve covered the basics, let’s start with the gutter joints. The good news is that this common problem is well covered even by regular plumbing services. While most gutter upgrades are performed by gutter or roofing specialists, having access to a local, professional plumber is always a smart decision when it comes to drainage or water issues. If you decide to take part in this upgrade, the process will involve unclipping the existing joints, cleaning the ends of the downpipe or gutter (sandpaper can remove rough patches), and spraying new seals with silicone. So, be sure to get all these things in check before work.
Fixing the sealing patches with silicone lubricants
This may sound as simple as pouring as much silicone filling into the downpipe crack as possible, but this way, you will only get new leaks in the near future. So, it is of absolutely critical importance to unclip the part of the gutter/downpipe next to the damaged sealing, and then make sure that the affected area is 100% clean of any sort of dirt or debris. What you should do next is to use ample amounts of fresh sealant along the edges of the existing layer, and only then re-attach the component back into the system. As the sealant squeezes in, you will create a new seal layer.
Filling in the small holes
Now, it is entirely possible that, even though seals and joints are the most vulnerable parts of the gutters and downpipes, you might experience cracks situated right in the middle of the body of either of these systems. Fortunately, if the cracks are small they shouldn’t affect the overall water removal process. In this case, you can simply clean and dry the damaged area before patching up the hole with a sealant. The other option is to repeat the cleaning and rot removal process but use waterproof tape instead. But, if you want to be 100% sure, try using both measures for added integrity.
Replacing the gutters and downpipes
Last but not least, let’s check the scenario in which your gutters and downpipes are simply beyond salvation. Well, just like in the case of joints, this is a situation where we strongly suggest you call professional help. But, if you decide to take care of it DIY, be sure to get a pair of extra hands and unclip the components with added support. In the case of downpipes, the higher elements should be dismantled first. When you are done, clean the fittings and give them a good silicone treatment so they can last longer in the future, before you start putting in new elements in the “back to front” fashion.
We hope these couple of tips will make your next house renovation faster and make sure the gutters and downpipes are in the top tier condition. Even if we rarely pay too much attention to them, these rain removal systems play a tremendous role in keeping our properties dry, healthy, and safe. That is why being able to identify any eventual problems associated with them and addressing the issues in a prompt manner should be your priority.