Barn doors add a touch of rustic charm to any home, lending an air of farmhouse chic to even the most urban of interiors. With their increasing popularity, many homeowners now aspire to craft their own DIY barn door. If you're one of them, this comprehensive guide will take you step-by-step through the process of creating your own unique barn door masterpiece.
Step 1: Materials and Tools
Creating a DIY barn door begins with gathering the right materials and tools. You'll need wooden planks, a saw, sandpaper, a drill, screws, a tape measure, a level, and barn door hardware. If you're aiming for a more weathered look, consider using reclaimed wood. Not only will it enhance the rustic charm, but it's also an environmentally friendly choice.
Step 2: Measuring Up
Proper measurement is the foundation of barn door construction. Measure the height and width of your doorway, then add two inches to the width and one inch to the height to allow for overhang and underlap. Be sure to double-check these measurements before making any cuts.
Step 3: Building the Door
Now, it's time to get hands-on. Cut your wooden planks according to the measurements, then arrange them side by side on a flat surface. For extra character, consider a chevron or herringbone pattern. Attach supporting pieces of wood across the back, ensuring they're equally spaced for maximum stability.
Step 4: Finishing Touches
Next, use sandpaper to smooth any rough edges, preparing your DIY barn door for staining or painting. Apply your chosen finish, and allow it to dry completely. Remember, lighter stains or pastel paints can help create a softer, more shabby chic aesthetic, while darker hues can provide a more traditional, rustic feel.
Step 5: Installing the Hardware
Lastly, it's time to install the barn door hardware. This includes a track, hangers, and a door handle. Position the track above the doorway, ensuring it's level. Attach the hangers to the top of the door, then hang it on the track. Install the handle, and voila! Your DIY barn door is complete.
Some Quick Tips
Always remember that safety comes first when dealing with power tools. Don't rush the process - taking your time will result in a more refined final product. Be creative and don't shy away from adding personal touches to your DIY barn door.
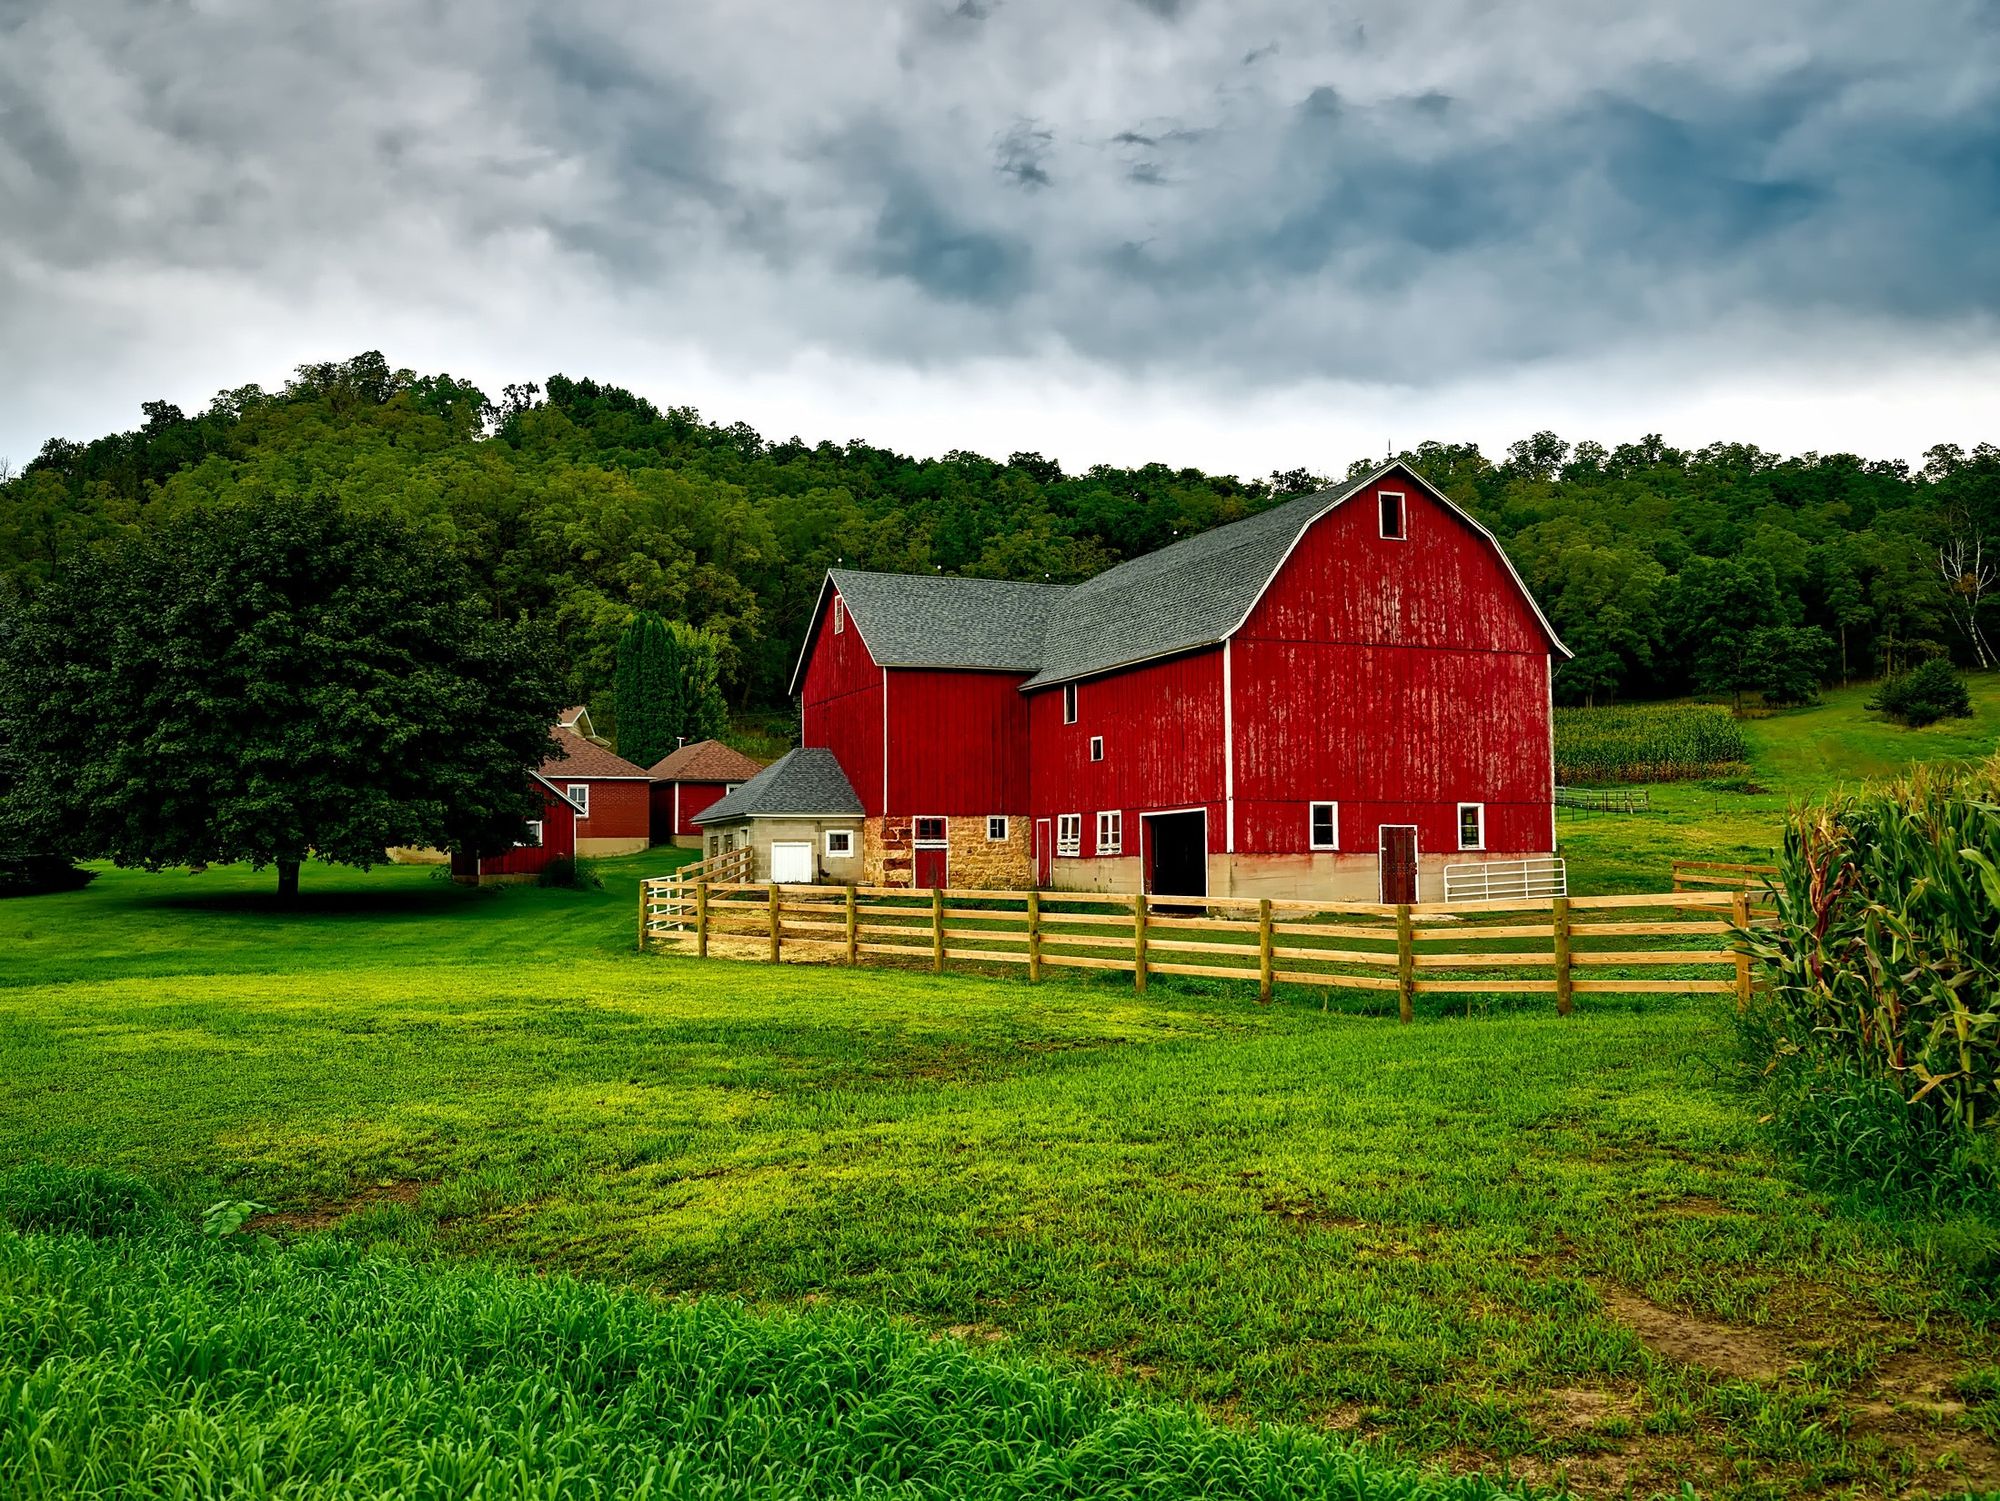
Why Choose a Barn Door?
One may wonder, why go through the effort of constructing a DIY barn door? What sets it apart from conventional doors? Barn doors offer both aesthetic and functional advantages. They save space since they slide instead of swing open, making them an excellent choice for tighter areas.
Their versatile design complements a wide range of interiors, from the rustic farmhouse to the contemporary loft. Constructing your own barn door gives you the freedom to customize the size, color, and overall design to perfectly fit your space and match your unique style.
Tools to Help You Along
While constructing a DIY barn door is a hands-on project, there are tools and resources that can help streamline the process. Online tutorials and videos provide visual guidance, while local workshops can offer hands-on assistance and advice.
You can also find premade barn door kits, complete with all necessary materials and instructions, which can be a great starting point, especially for beginners. They allow you to have a hands-on DIY experience while eliminating the need for measuring and cutting.
Personalize Your Barn Door
Another fun aspect of creating a DIY barn door is the ability to add personal touches. Maybe you want to stencil a design on your door or add some decorative nails for a studded look. Perhaps you love the idea of a chalkboard barn door for doodling or jotting down grocery lists.
The design possibilities are endless, limited only by your creativity. Remember, this is your project, and you're free to experiment and create a barn door that truly reflects your personality and style.
Maintaining Your Barn Door
Just like any other piece of furniture, your DIY barn door will require some care and maintenance to keep it looking its best. Regular dusting and occasional polishing will help keep your door in top condition. If your door is exposed to moisture, consider a water-resistant finish to protect it.
Also, keep an eye on the hardware. A well-constructed barn door should slide smoothly and quietly. If it starts to stick or squeak, a quick adjustment or a dab of oil can usually solve the issue.
Final Thoughts
In creating your own DIY barn door project, let's recap some crucial elements. Using the correct DIY sliding barn door hardware is vital to ensure smooth movement and stability of your barn door. While assembling your door, remember the importance of tools like wood glue to reinforce the joints, as well as the significance of drill pilot holes to prevent splitting the wood. Making pocket holes and carefully measuring the door width are also integral steps to a well-crafted barn door that will fit snugly into your door frame.
Transforming wooden planks into a custom barn door adds a touch of rustic charm to your home while introducing a modern element. The use of door trim and careful filling of nail holes helps achieve a professional finish that's sure to impress. Remember, a well-constructed DIY barn door isn't just about functionality, but it's also an expression of your creativity and craftsmanship.
Every detail matters when constructing DIY barn doors. It's the blend of these details that ultimately crafts a piece that stands out in any room. So, take out your measuring tape, gather your materials, and dive into the world of DIY barn door construction. Remember, it's not just a project, but an adventure in creativity. Good luck, and enjoy the process!