Scaffolding is integral to many construction and maintenance projects, providing a safe and secure platform for workers to access heights and perform tasks efficiently. However, to ensure the safety of everyone involved, it is crucial to inspect scaffolding structures for any potential hazards or defects regularly.
In this comprehensive guide, you’ll walk through a 7-step process for inspecting your scaffolding thoroughly and efficiently.
Step 1: Gather Necessary Tools And Equipment
Before embarking on the crucial task of inspecting your scaffolding, ensuring you have the right tools and equipment at your disposal is essential. These items will not only enhance the efficiency of your inspection but also play a pivotal role in safeguarding the well-being of all personnel involved in the project. So, take a closer look at the arsenal you should assemble before you begin your scaffolding assessment:
- Personal Protective Equipment (PPE): Prioritize safety by wearing essential PPE. Ensure you have a hard hat, high-visibility vest, and steel-toed boots. Each piece of safety gear serves a crucial role in protecting you during the inspection process.
- Flashlight: A powerful flashlight will help you inspect hard-to-reach areas.
- Scaffolding Inspection Checklist: A printed checklist will help you systematically assess the scaffold's condition.
- Measuring Tape: This will be useful for checking the distance between scaffold components.
- Level: To ensure the scaffold is appropriately aligned and balanced.
- Hammer: For gently tapping scaffold components to check for weaknesses.
- Bolt/Wrench Set: To tighten any loose bolts or nuts you may encounter during the inspection.
- Digital Camera: Documenting your findings with photos can be helpful for future reference and reporting.
Now that you've gathered the necessary tools and equipment, you're well-prepared to embark on your scaffolding inspection journey. These tools are your allies in upholding safety standards and ensuring the structural soundness of the scaffold. With them in hand, check this page for more safety tips to proceed to the next steps of the inspection process.
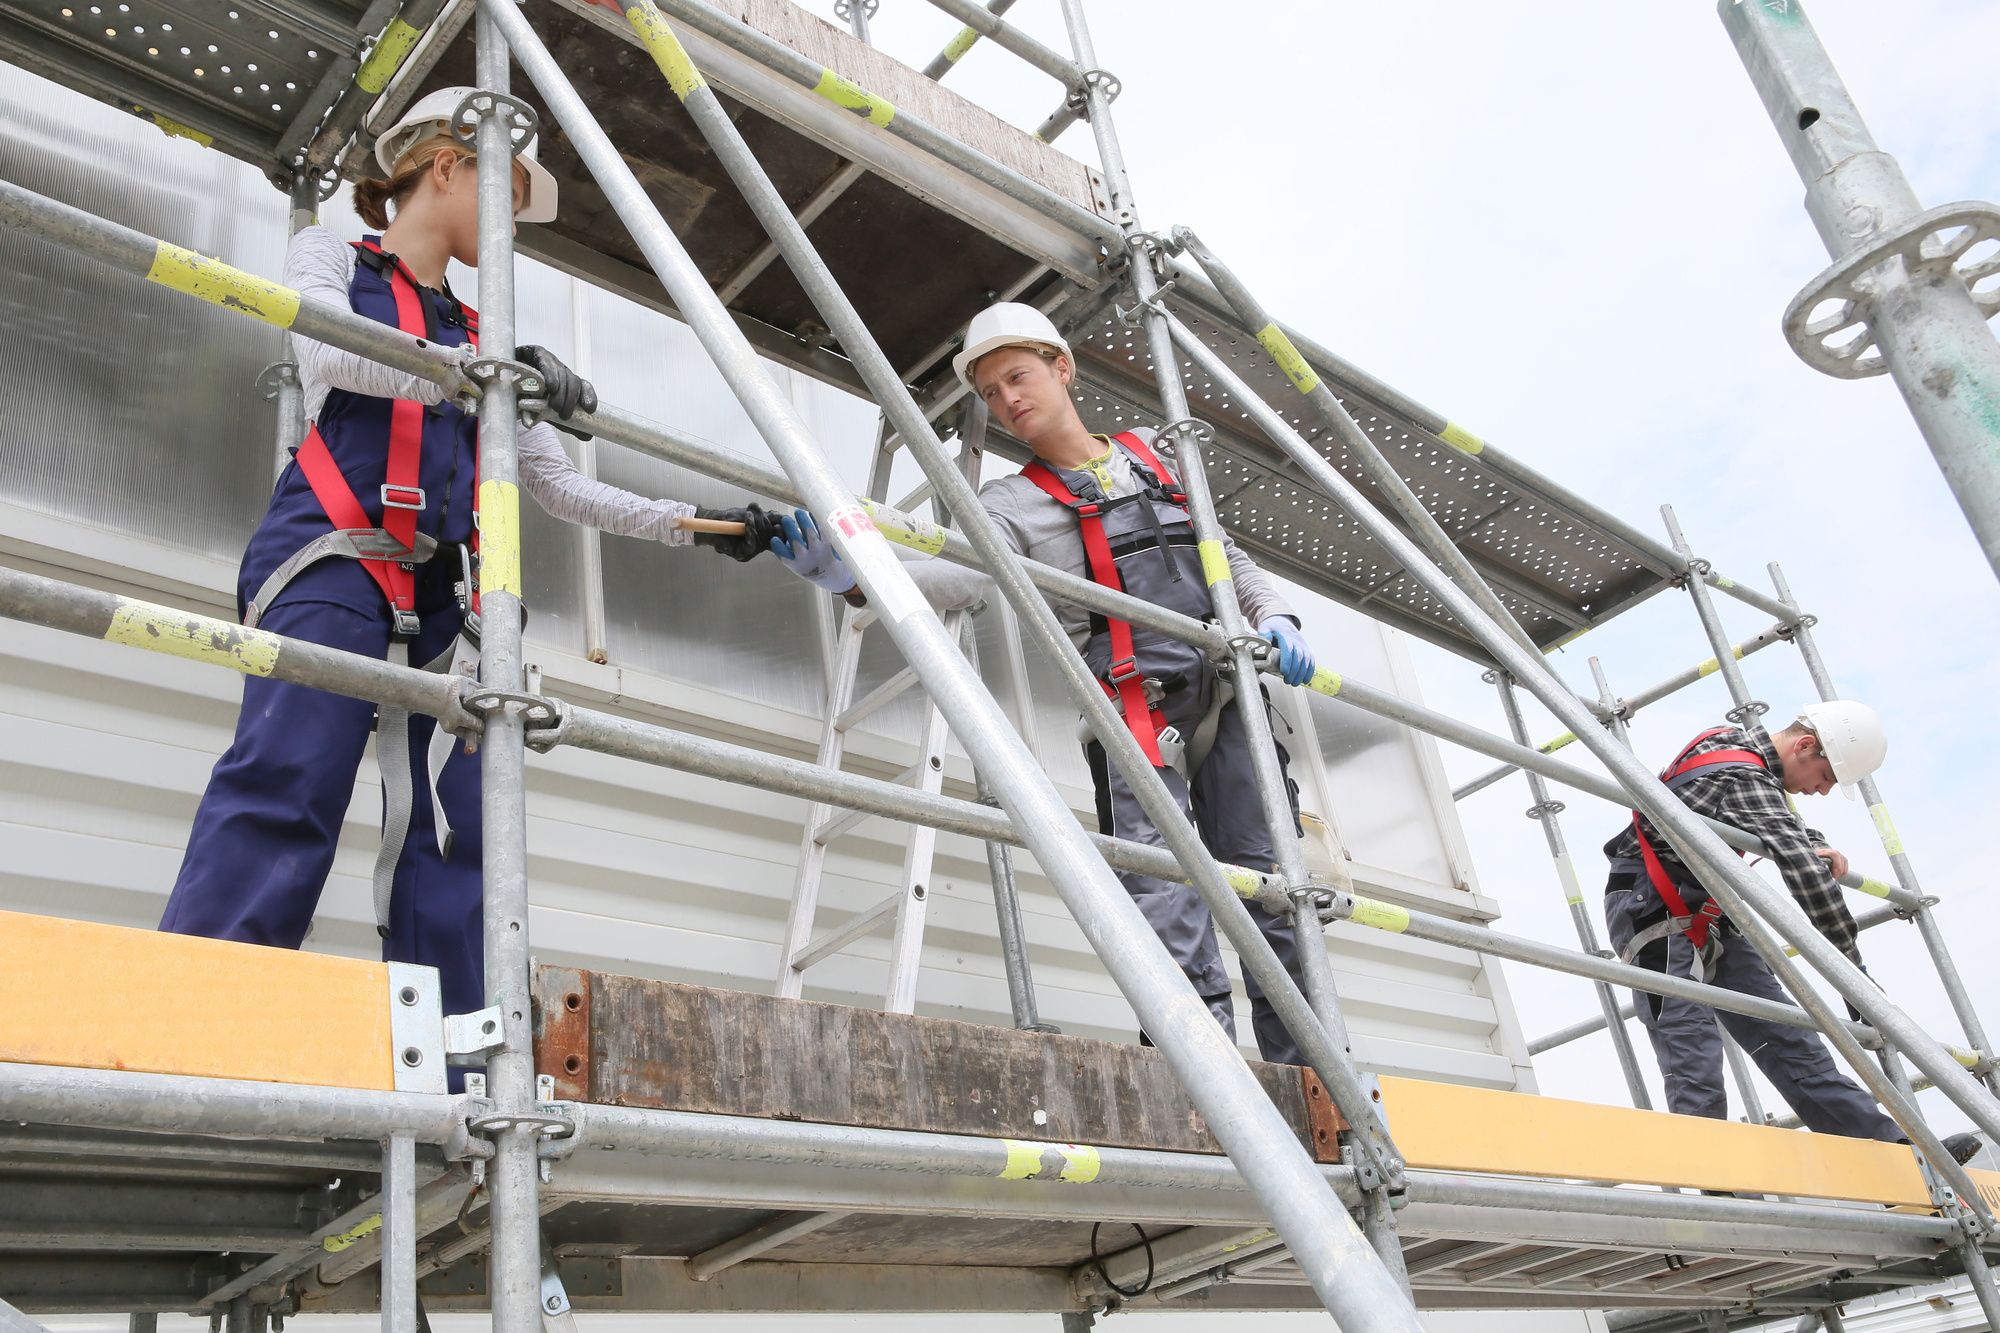
Step 2: Start With A Visual Overview
Initiate your inspection by taking a step back and visually assessing the entire scaffolding structure. Look for any signs of damage or misalignment, such as bent frames, loose cross braces, or missing components. Ensure that the scaffold is properly plumbed and leveled.
Step 3: Check The Base And Foundation
As you delve into the inspection process, you arrive at a pivotal stage: assessing the scaffold's base and foundation. The stability of the entire structure hinges upon the integrity of these components. Here's what you should focus on during this critical step:
- Base Plates: Begin by meticulously examining the base plates. Ensure that they are not only in place but securely so. Any signs of cracks or damage should be noted and addressed promptly to maintain the scaffold's stability.
- Mud Sills: Next, turn your attention to the mud sills, which bear the weight of the scaffold. Check for any signs of deterioration, as weakened mud sills compromise the safety of the entire structure. If you detect any issues, make it a priority to replace them promptly.
- Uneven Ground: Scaffolding erected on uneven terrain can pose a significant challenge to stability. To mitigate this risk, employ adjustable screw jacks. These jacks provide a means to level the scaffold, ensuring it stands firmly and securely, regardless of the ground's topography.
By diligently inspecting and addressing any concerns related to the scaffold's base and foundation, you are taking a critical step toward ensuring the safety and stability of the entire structure.
Step 4: Inspect Vertical Components
Move on to the vertical components of the scaffold, including:
- Standards (Uprights): Examine for signs of bending, corrosion, or missing pins. Make sure they are plumb.
- Ledgers: Check for proper alignment and secure connections to the standards.
- Transoms: Ensure that they are level and adequately attached to the ledgers.
- Diagonal Braces: Verify that diagonal braces are in place and they form an X-shape for stability.
Ensuring that standards, ledgers, transoms, and diagonal braces are in optimal condition is essential to prevent accidents and maintain a secure work environment.
Step 5: Examine Horizontal Components
Focus your attention on the horizontal elements of the scaffold:
- Platform (Deck): Check for any signs of damage, such as cracks, splits, or warping. Ensure it is fully planked with no gaps or overlaps.
- Guardrails: Confirm that guardrails are securely installed around all open sides and ends of the platform.
- Toeboards: Verify that toeboards are in place to prevent tools or materials from falling.
- Access Ladders: Ensure that access ladders or stairs are securely attached and provide safe entry and exit points.
By thoroughly examining these horizontal components, you contribute to the overall safety and functionality of the scaffold.
Step 6: Test Stability And Connections
Now, it's time to test the stability of the scaffold. Use your level to ensure it is plumbed and your measuring tape to check for uniform spacing between components. Gently tap scaffold components with your hammer to detect any loose connections or weak spots. Tighten any loose bolts or nuts you find.
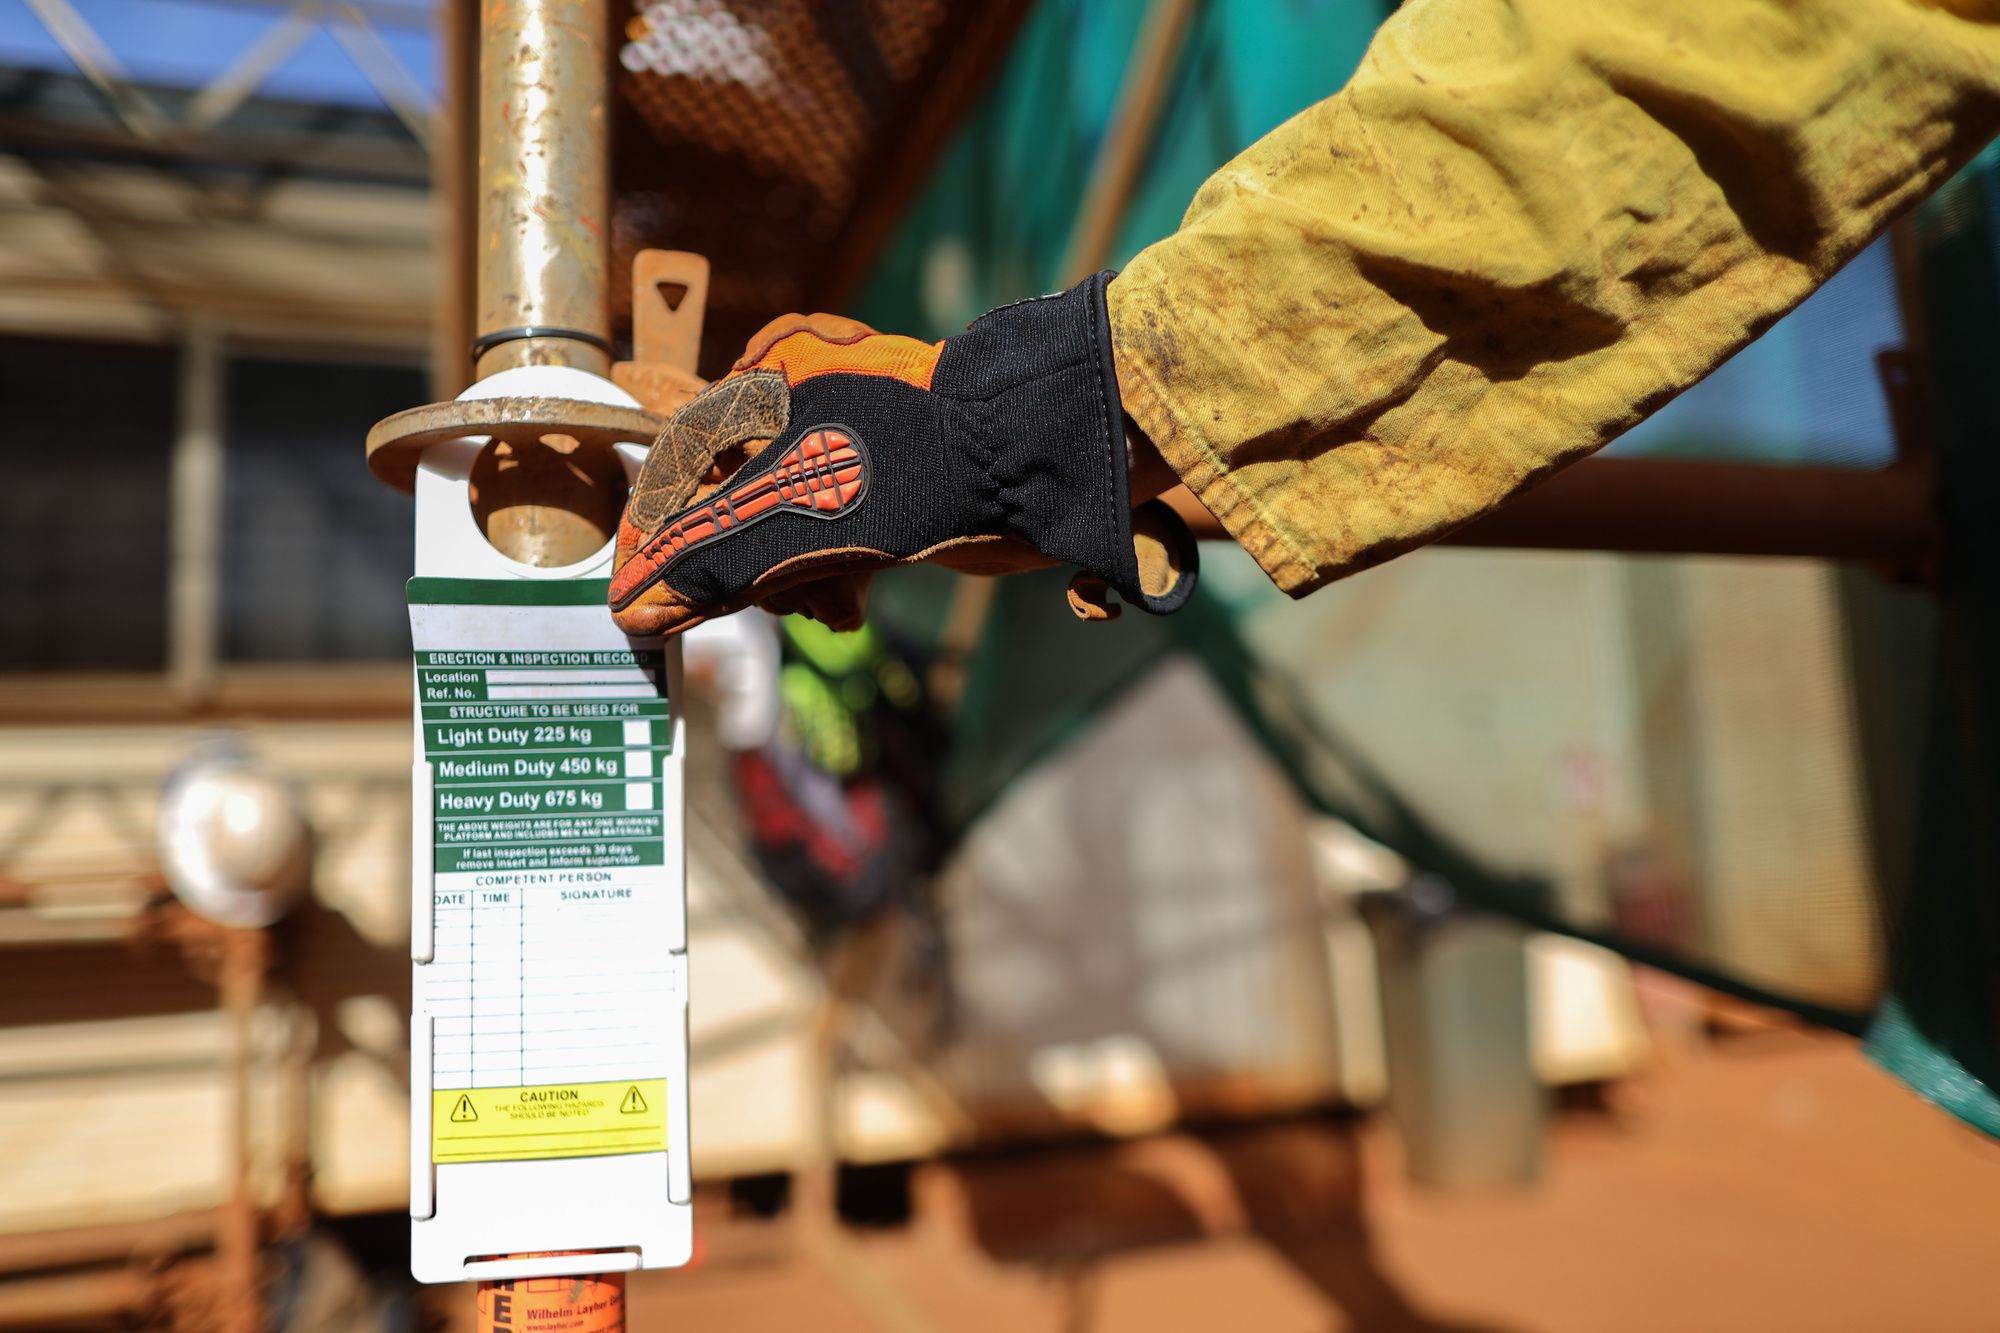
Step 7: Document And Report Findings
Finally, document your inspection findings. Use your digital camera to take clear photos of any issues you discover. Fill out your scaffolding inspection checklist with details of the inspection date, observations, and any necessary actions, such as repairs or replacements. Make sure to sign and date the checklist and keep it on record for future reference.
Conclusion
Inspecting your scaffolding is crucial in maintaining a safe and efficient work environment. Regular inspections help identify potential hazards and ensure the scaffold's structural integrity. By following this guide and using the appropriate tools and equipment, you can contribute to a safer construction site and prevent accidents. Remember, safety should always be the top priority in any construction project.