Repainting a textured ceiling, such as a popcorn ceiling, may seem like a daunting task. However, with the right tools and a few tricks up your sleeve, you can achieve a professional-looking result. In this article, we will guide you through the process of repainting your textured ceiling, ensuring a comprehensive and efficient paint job.
Intro: How to Paint a Textured Ceiling
Textured ceilings, especially popcorn ceilings, provide a unique aesthetic appeal and sound absorption for homeowners. Unlike flat ceilings, painting ceilings with texture requires specific techniques and considerations. To make the process smoother, we have compiled a step-by-step guide that incorporates essential terms and practices for painting textured surfaces.
Steps for Painting a Textured Ceiling
- Preparation: Clear the entire room, cover the entire floor with drop cloths, and remove ceiling light fixtures to protect them from paint. Calculate the square footage of the ceiling to determine how much paint you'll need.
- Choose the right paint: Select a special ceiling paint, preferably an interior acrylic-latex paint in a flat or matte finish. This ensures a smooth surface and proper adhesion to the textured ceiling.
- Gather tools: You will need a paint roller, paint tray, roller cover, extension pole, angled paint brush, stepladder, vacuum with a brush attachment, plastic sheeting or drop cloths, painter's tape, and light fixtures covers.
- Priming: If your ceiling has stains or if you prefer a more even finish, apply a coat of primer before painting the ceiling. This will help the paint adhere better to the ceiling texture and provide a fresh coat for the paint to bond with.
- Cutting in: Use an angled paint brush to cut in along the edges where the walls meet the ceiling. This minimizes paint strokes and splashing on the walls, giving you a cleaner finish.
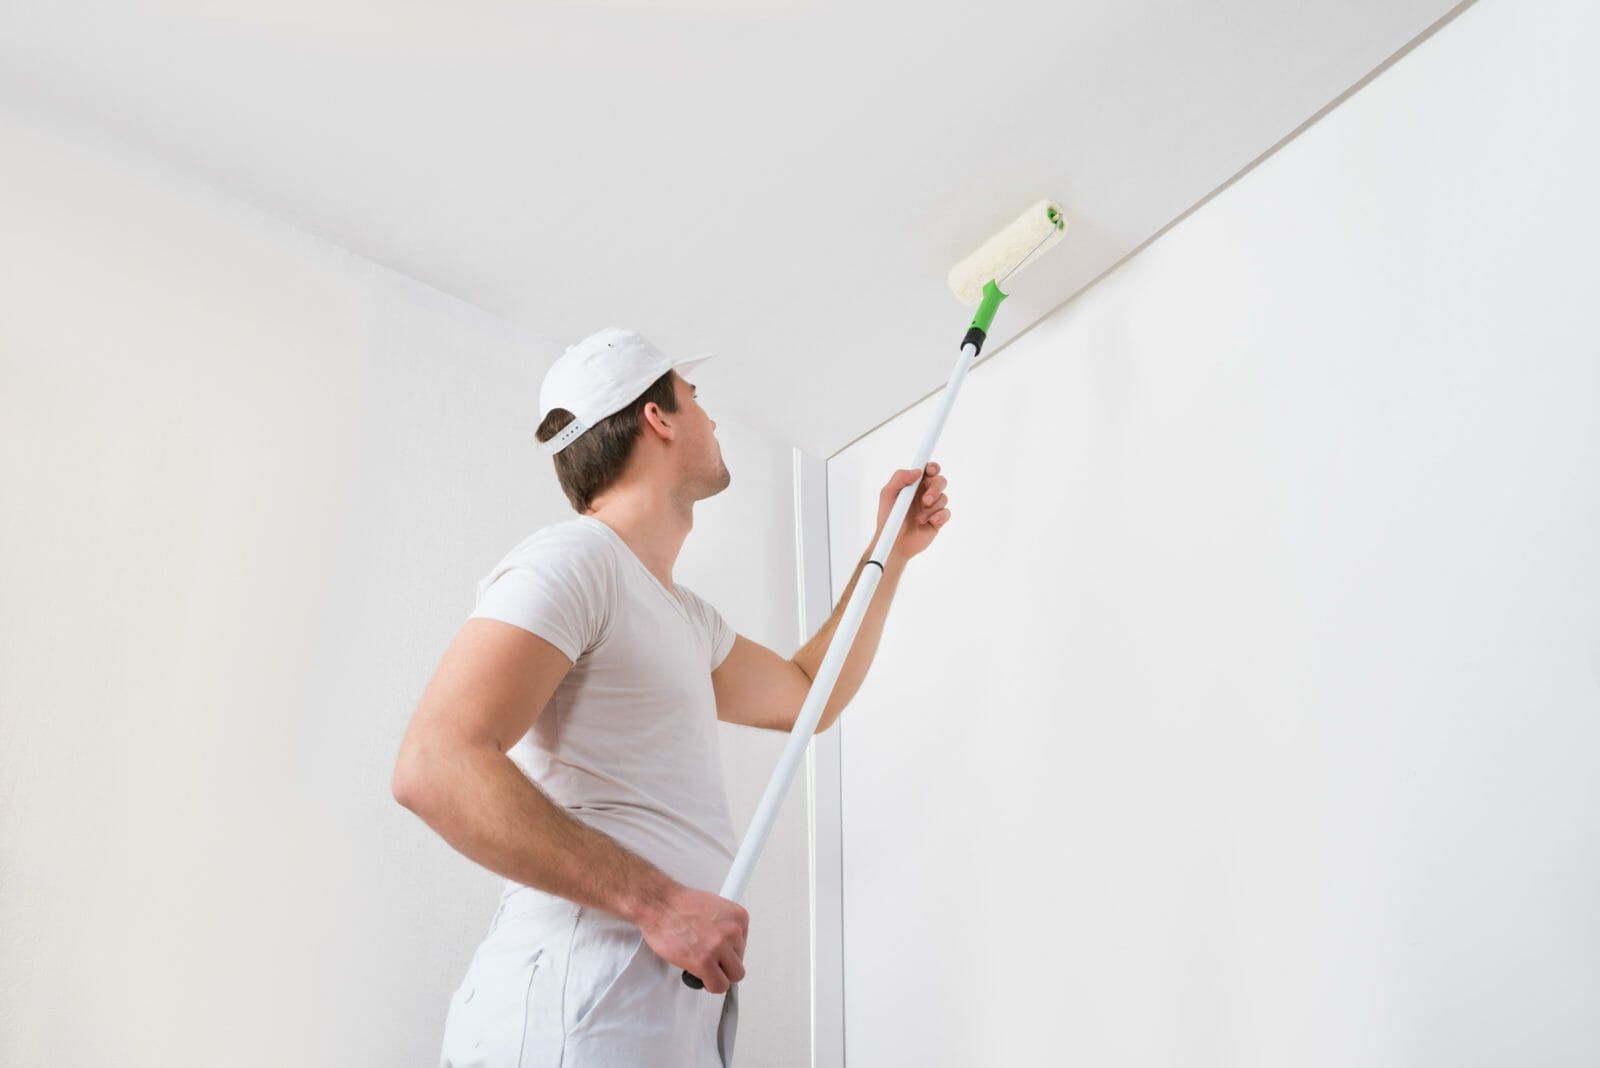
- Painting the ceiling: Pour paint into the paint tray and fully saturate the paint roller. Remove excess paint by rolling it against the tray's grate. Attach the roller to the extension pole and begin painting the entire ceiling, starting from the center and working your way towards the edges. Apply a thick coat of paint to ensure thorough coverage of the textured surface.
- Second coat: After the first coat has dried (about two hours), apply a second coat of paint using the same technique. This ensures a more uniform finish and better coverage.
- Cleanup: Use a vacuum with a brush attachment to gently remove any debris from the ceiling. Replace the ceiling lights and remove painter's tape, drop cloths, and plastic sheeting from the room.
Conclusion
Painting textured ceilings, like popcorn ceilings, may seem like a challenging DIY project, but with the proper tools and techniques, you can achieve a professional-looking result. Remember to prepare the entire room, choose the right paint, and follow the steps outlined in this guide. With patience and attention to detail, your textured ceiling will look refreshed and rejuvenated.