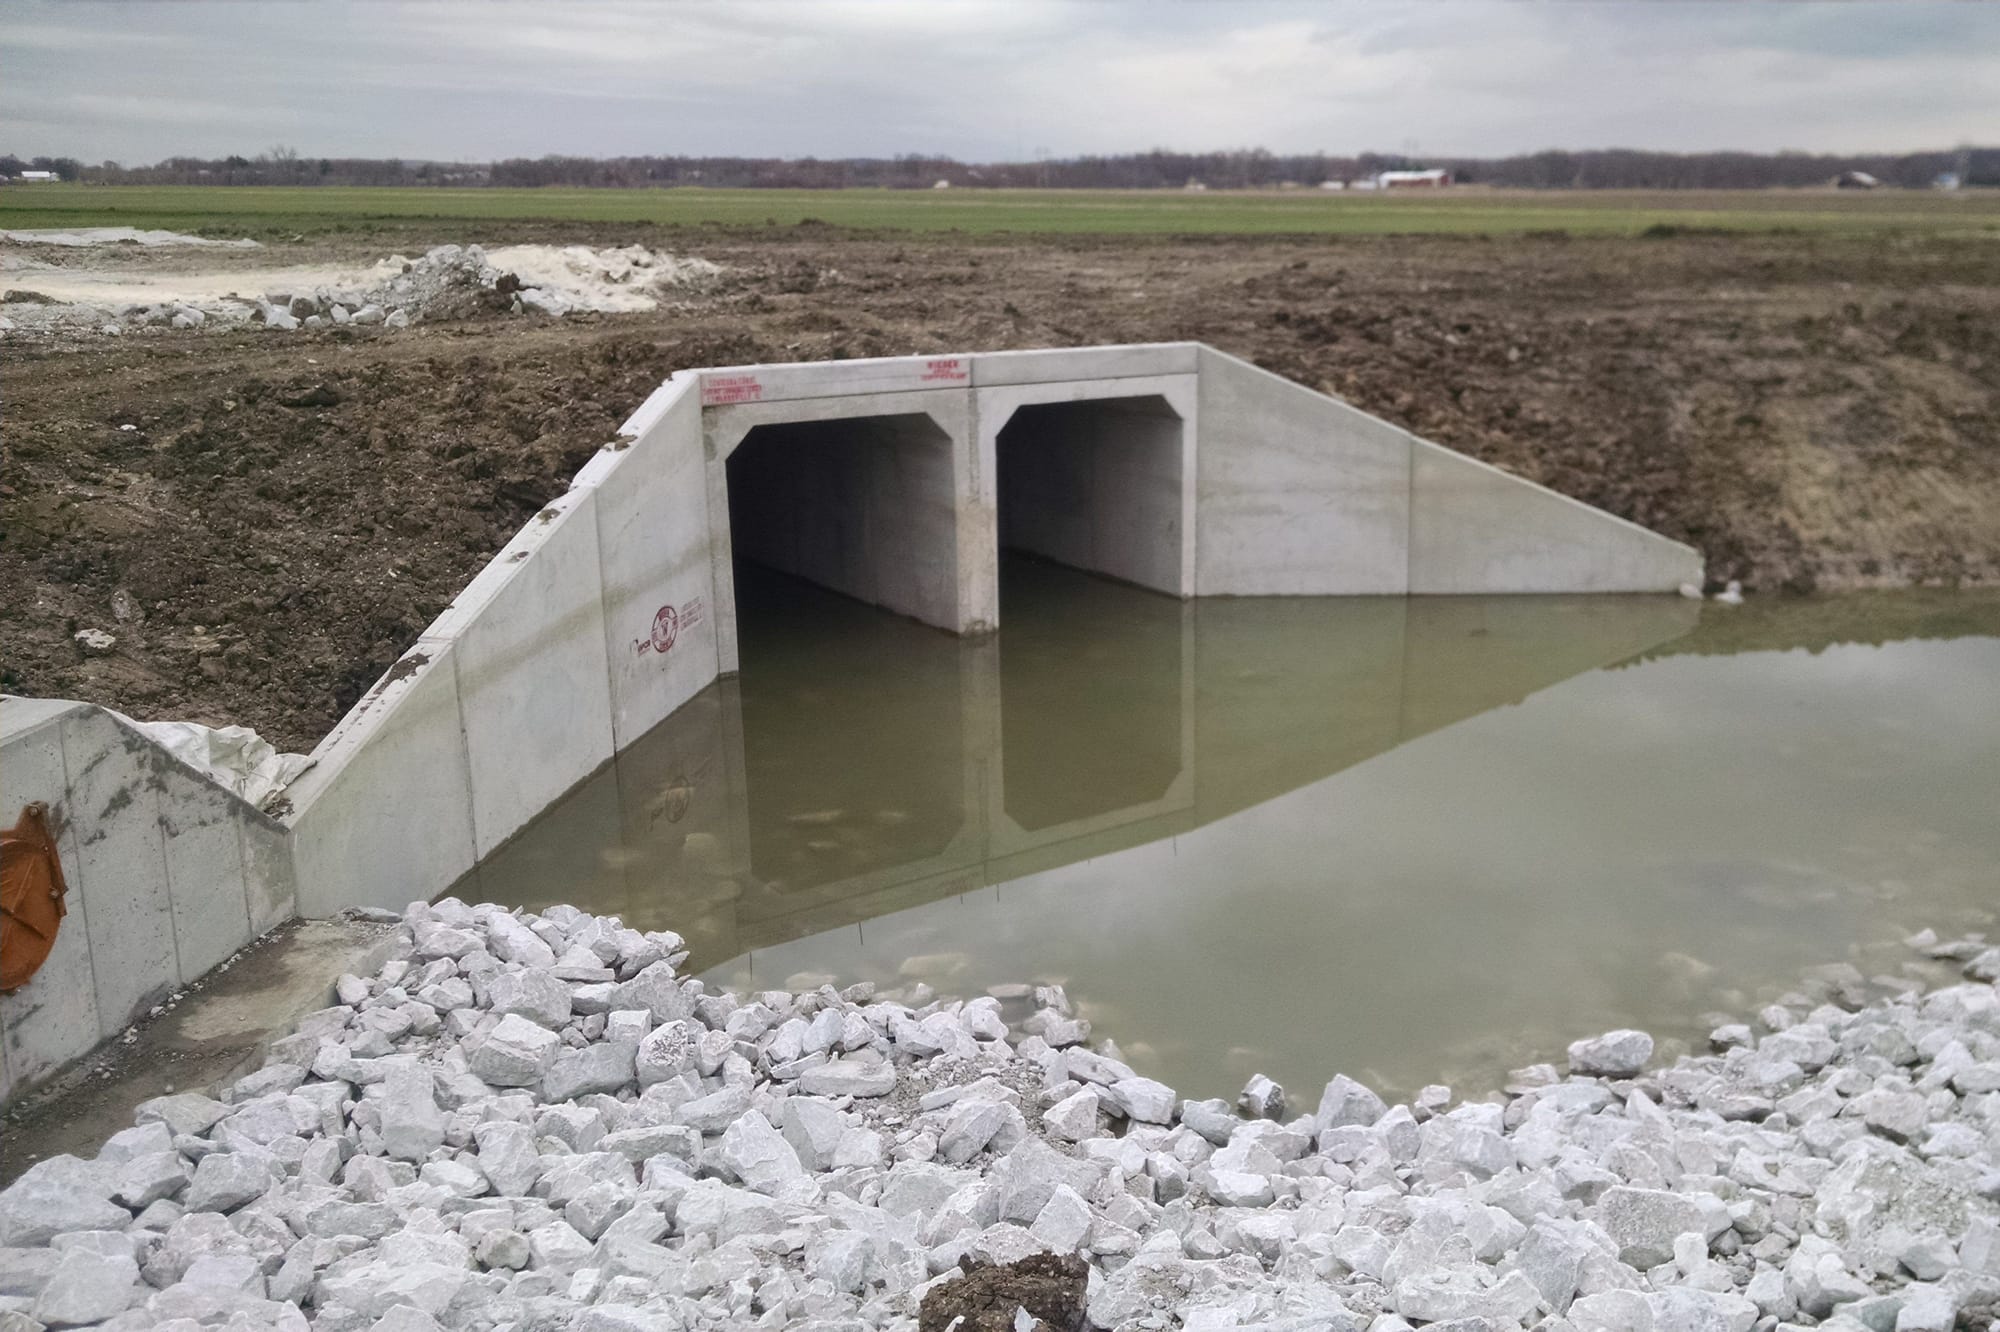
Box culverts are critical components of many building projects, allowing for the uninterrupted flow of water, foot traffic, or automobiles. These culverts’ long-term stability and performance depend on the accuracy and adherence to particular criteria when installing them. That’s why, in this article, you will learn about box culverts and their proper installation.
What are Box Culverts?
Before installing box culverts, it is essential to have a fundamental understanding of these structures. Box culverts are conduits for water and transportation, are made of precast concrete, and come in various sizes and configurations. Also, box culverts are vital to any civil engineering activity because of their dependability and sturdiness.
Site Preparation
Now that you have a basic idea about box culverts, you can check where they will be installed. However, there are several aspects that you should remember regarding the site preparation before the installation.
Conducting Site Analysis
Complete a thorough site analysis before beginning installation. Determine where to put the box culvert based on topography, soil type, and water flow patterns.
Excavation and Foundation Preparation
First, you must dig a hole that is the right size for the trench. Verify that the excavation depth meets the specifications given in the design engineering documents. Then, build a strong base by compacting the earth and reinforcing it where necessary.
Box Culvert Installation Process
Once the site is ready, it’s time for the most challenging task: installing the box culverts. Here’s a brief guide on how you should conduct box culvert installation:
Positioning the Box Culvert
Place the precast box culvert sections in the trench in the correct order and to the project’s exact specifications. Use cranes or other heavy-lifting machinery to ensure everything is where it needs to be.
Connection and Sealing
Using top-notch sealants and gaskets, join the individual pieces of the box culvert together seamlessly. This step is essential to keep water out and the trench in one piece.
Backfilling and Compaction
The area around the trench should be backfilled gradually, with careful attention paid to provide adequate compaction for optimal support and stability. This method is useful in avoiding culvert damage due to settlement.
Finishing Touches
After the trench has been backfilled, it must be carefully inspected for evidence of misalignment or damage. To ensure the trench is safe, make any required repairs and compact the area one last time.
Maintenance and Long-Term Care
The longevity of the box culvert can be greatly increased with regular upkeep. Routine inspections, cleaning, and prompt repairs can avoid deterioration and structural concerns.
How to Replace Box Culverts
For instance, you may want to replace an old box culvert with a new one. The process can be daunting but similar to the initial installation.
At the culvert run’s lowest point, the first box culvert is swapped out for one with a bell that faces uphill. It is crucial to get the placement of the first box culvert right, as it will set the pattern for the rest of the work.
A 150 mm wide and 75 mm deep trench is constructed before a new box culvert is installed. That way, it can prevent bedding material from being driven into the junction when inserted into an older ditch’s bell.
Ensure Lasting Stability and Functionality
Box culvert installation is an art that demands careful preparation, flawless execution, and consistent upkeep. A successful installation that satisfies the highest safety and durability requirements can be ensured by following the stated stages and stressing the importance of structural integrity.
With careful attention to detail, box culverts can serve as robust infrastructure, contributing to the smooth running of various construction projects.

